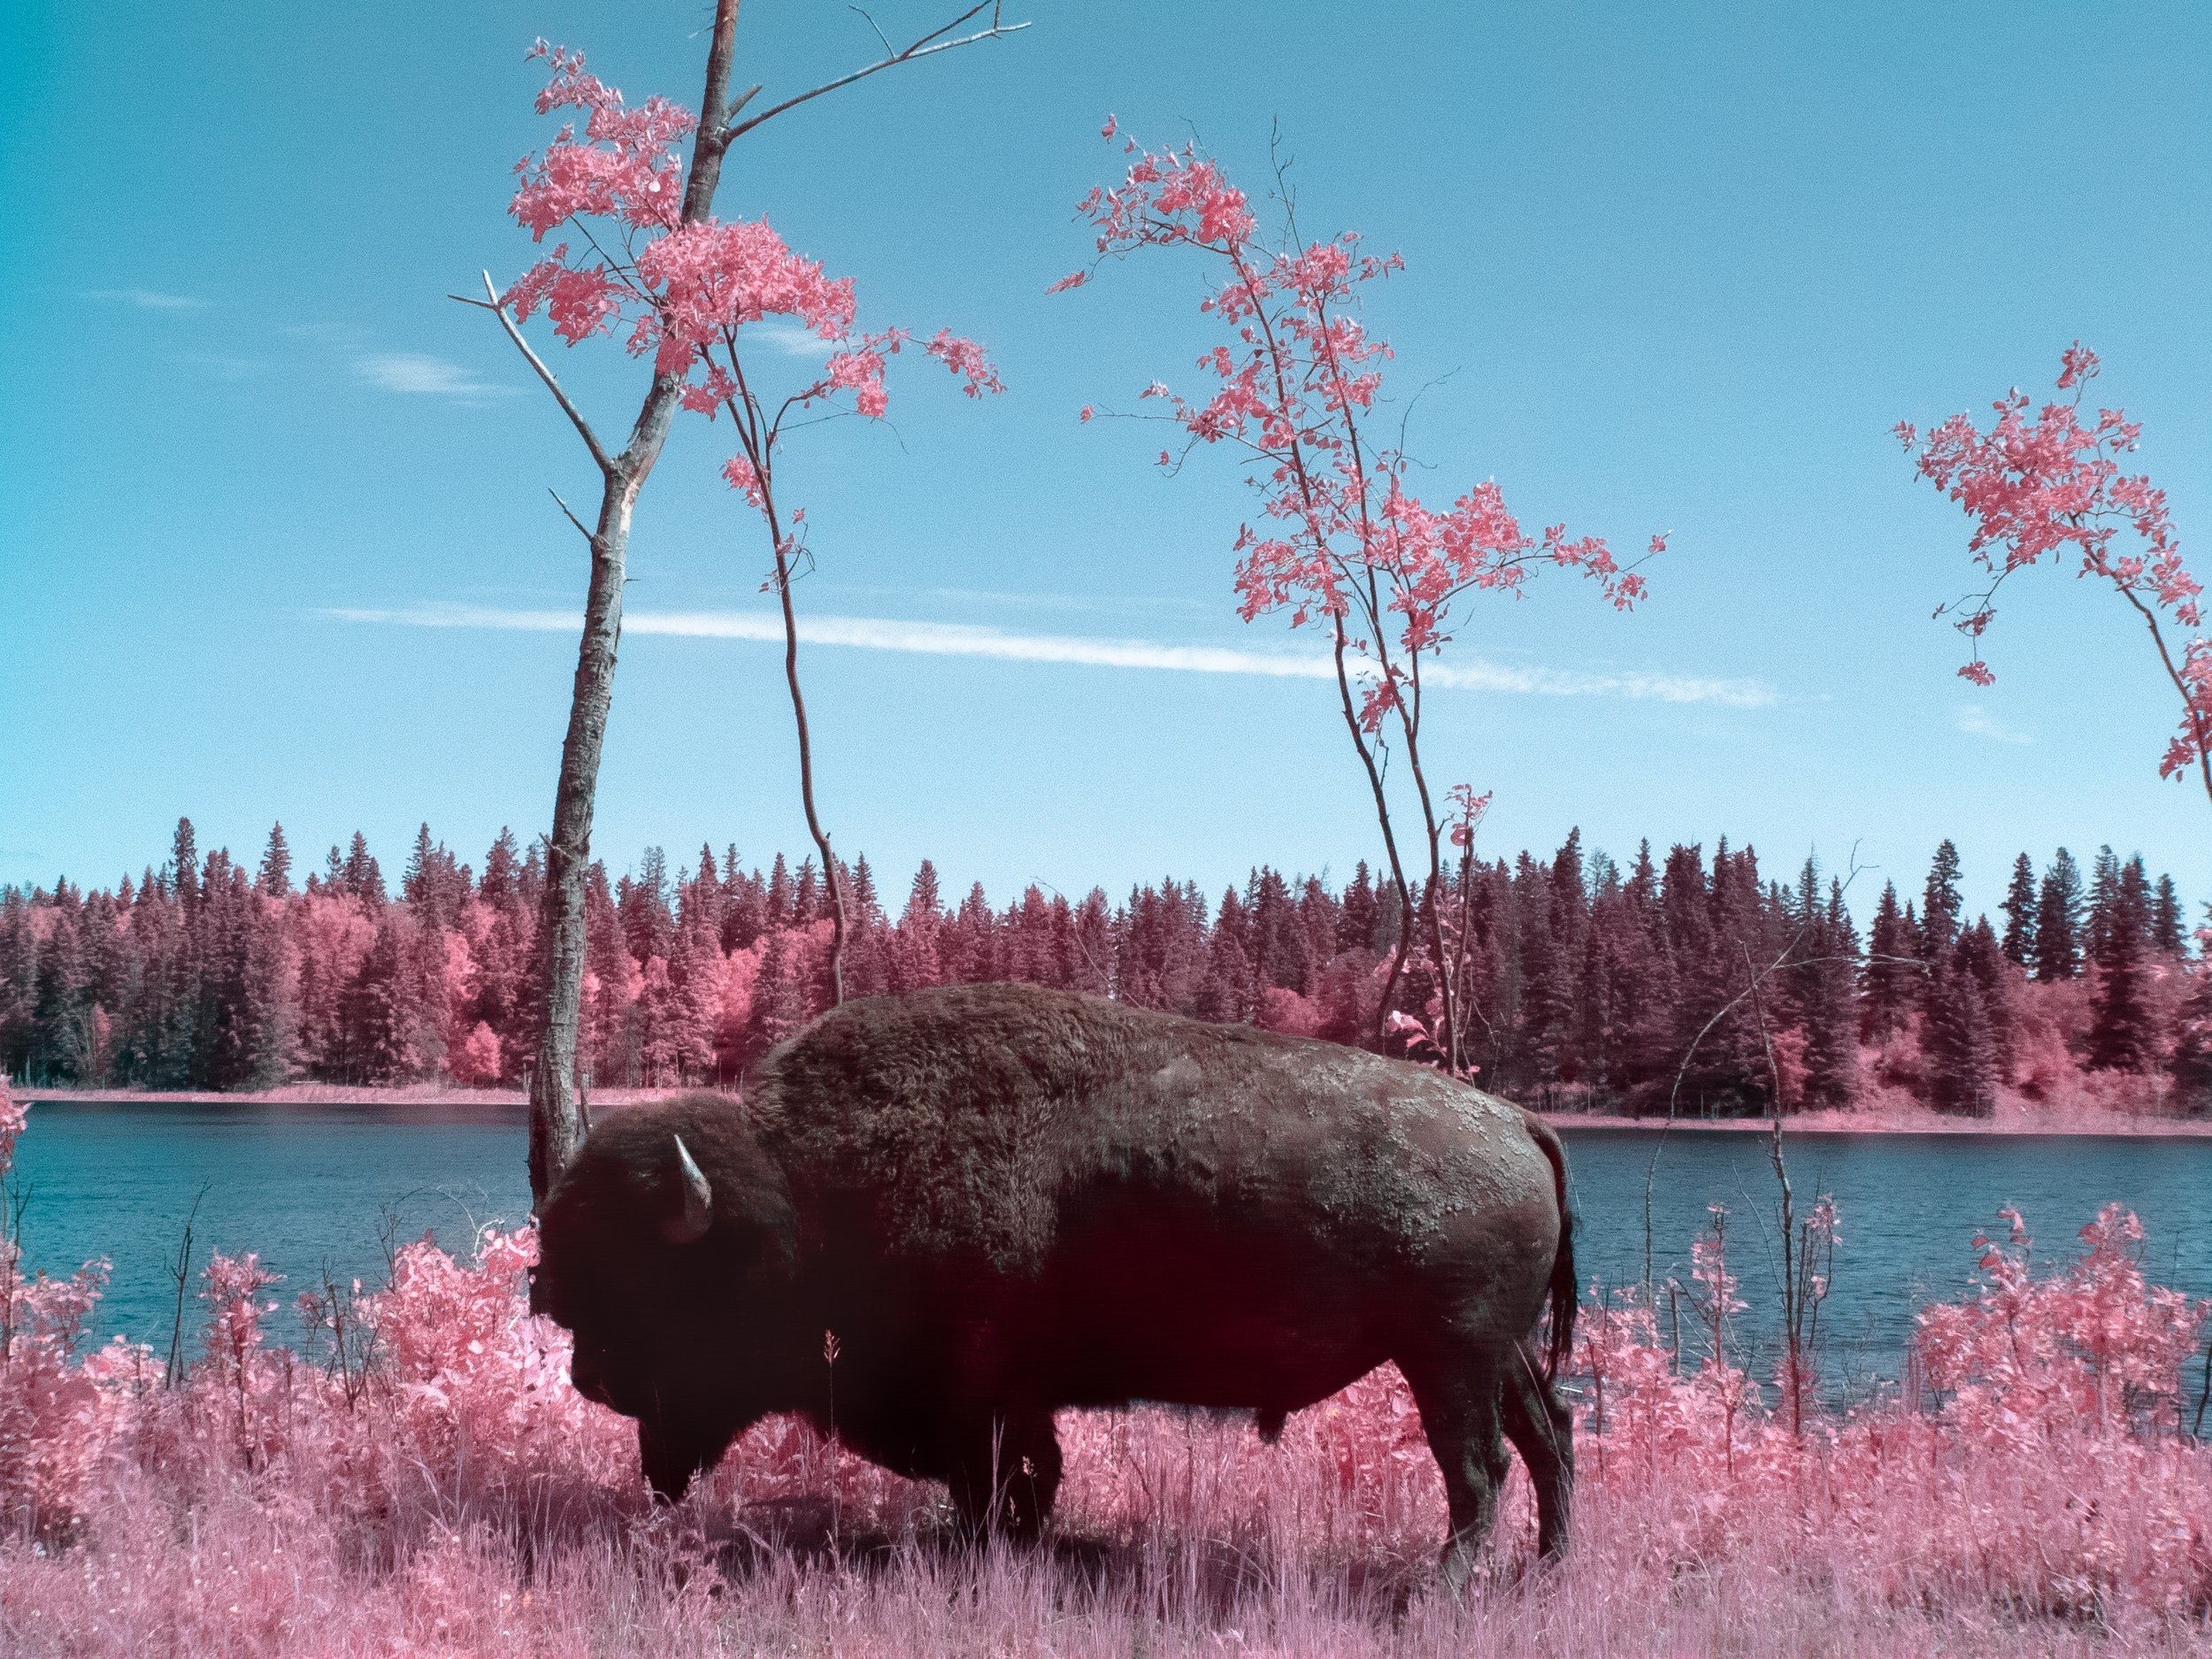
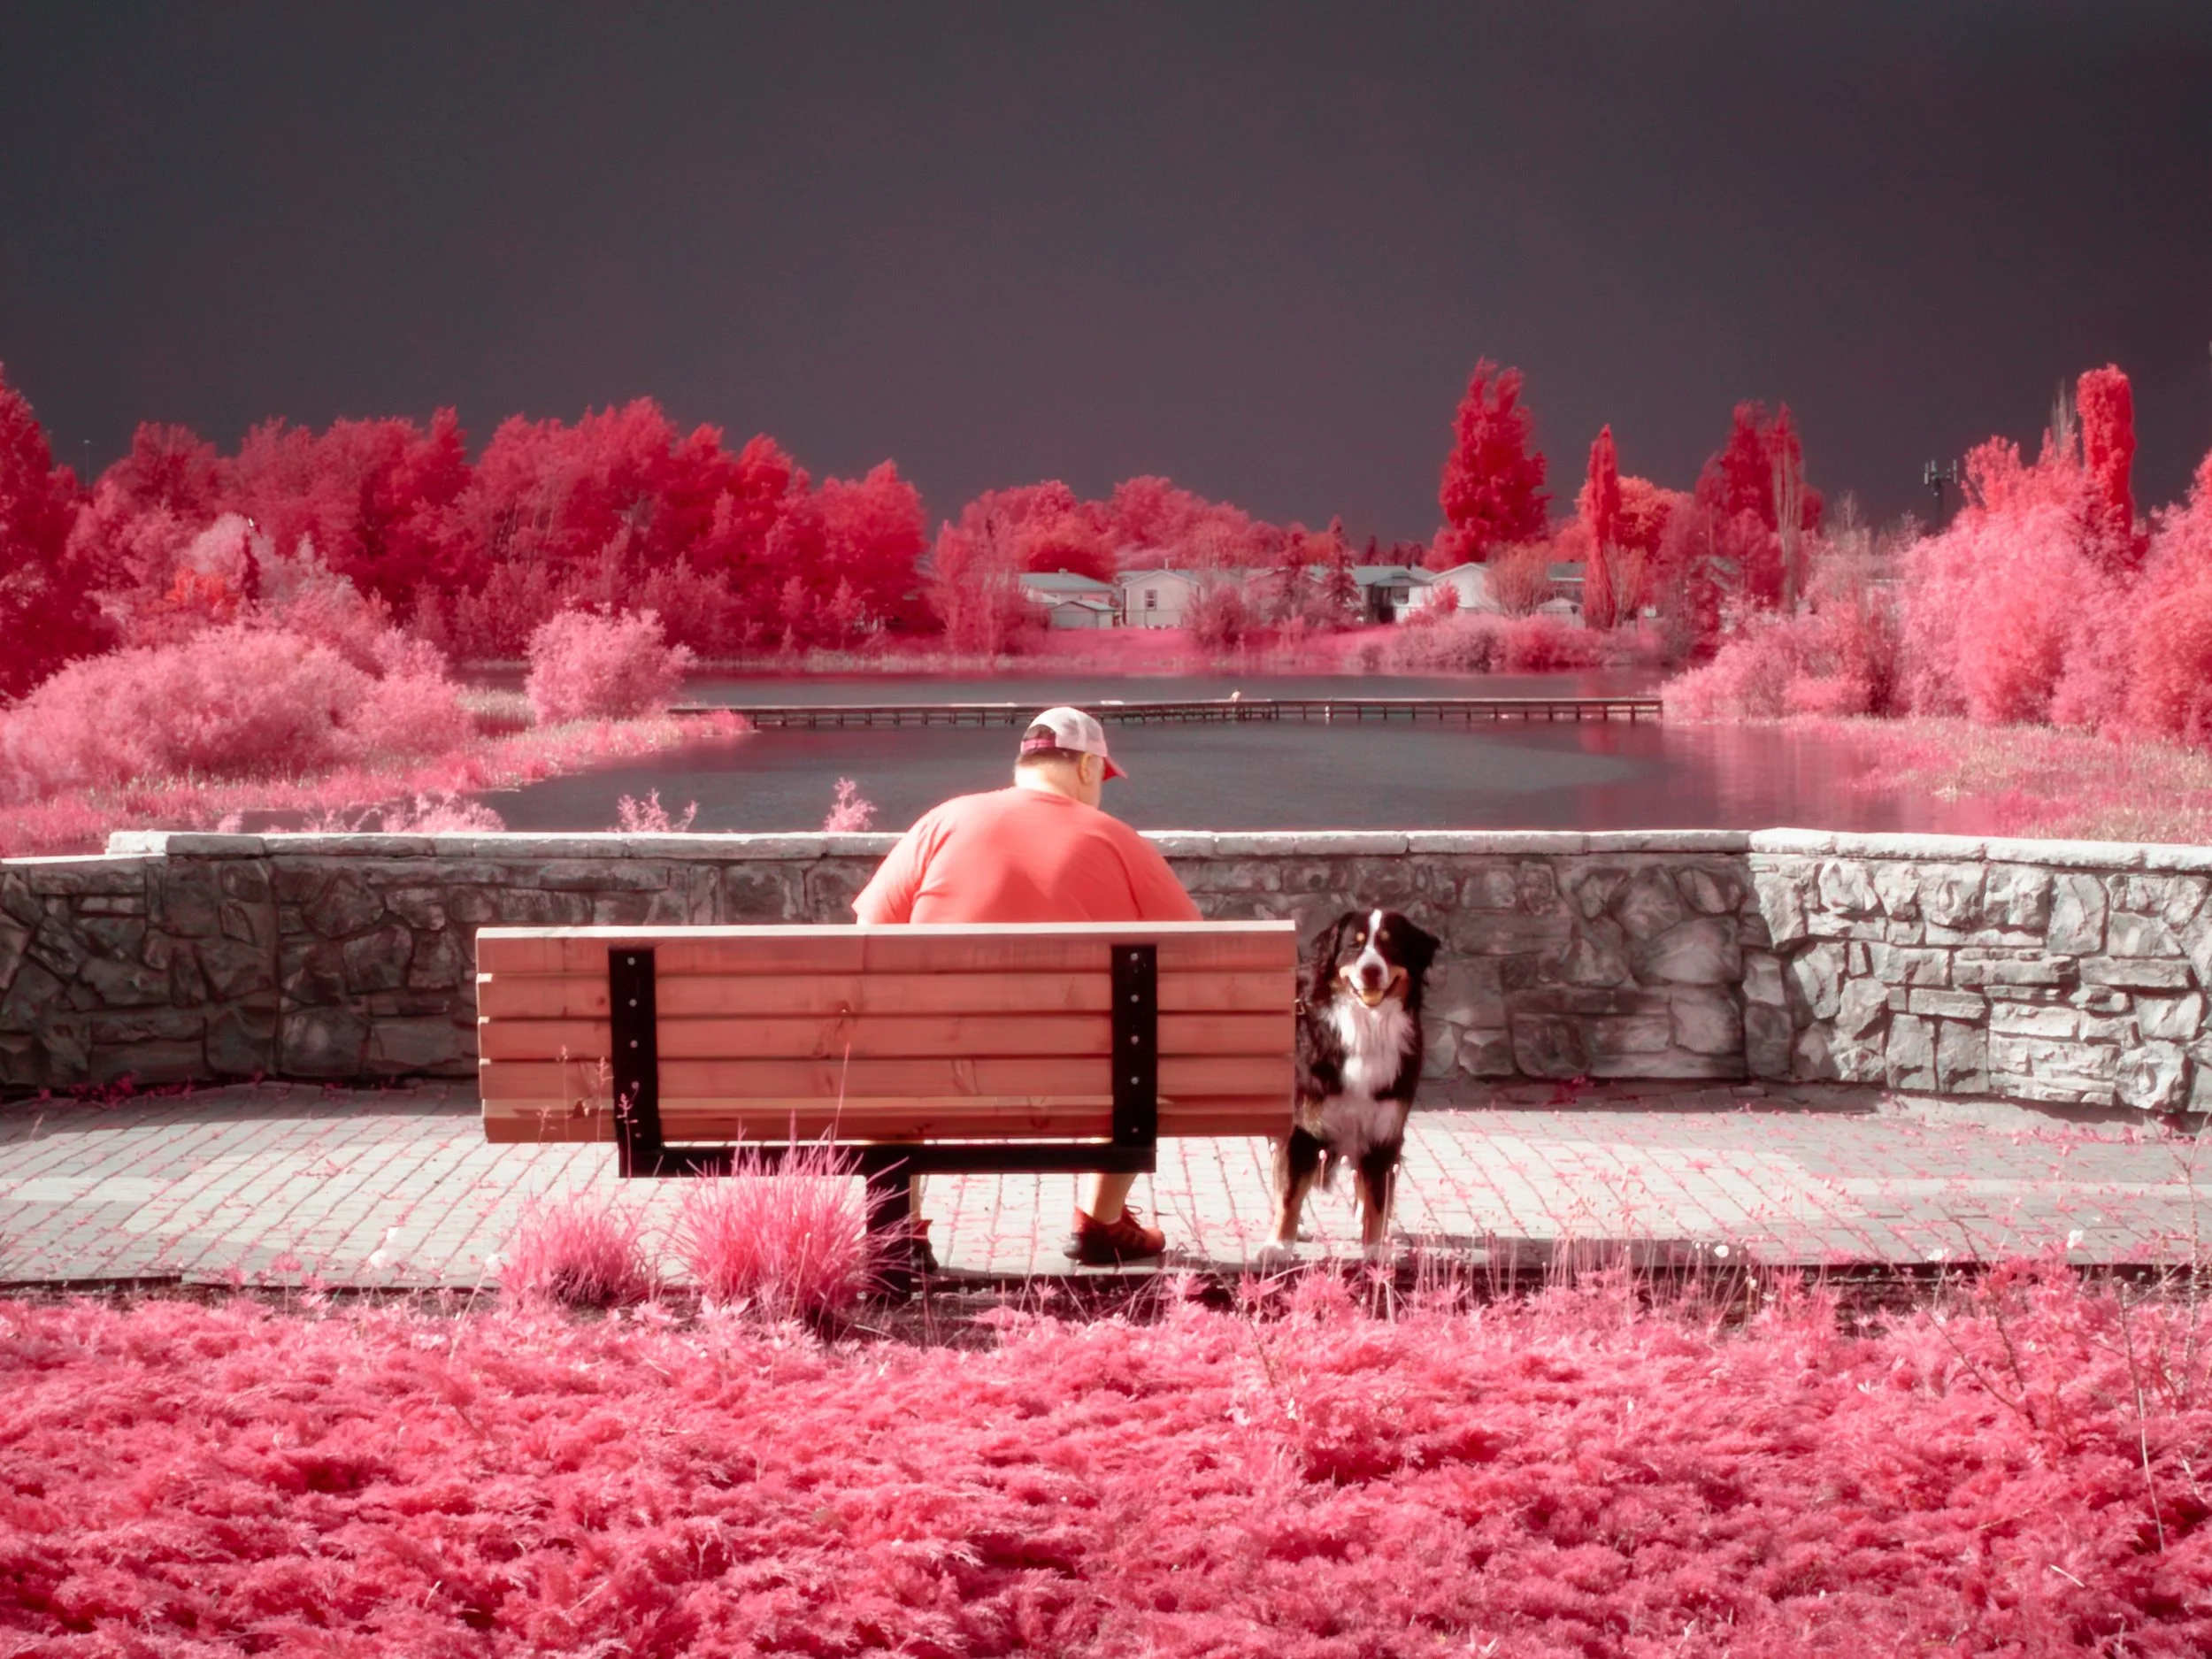
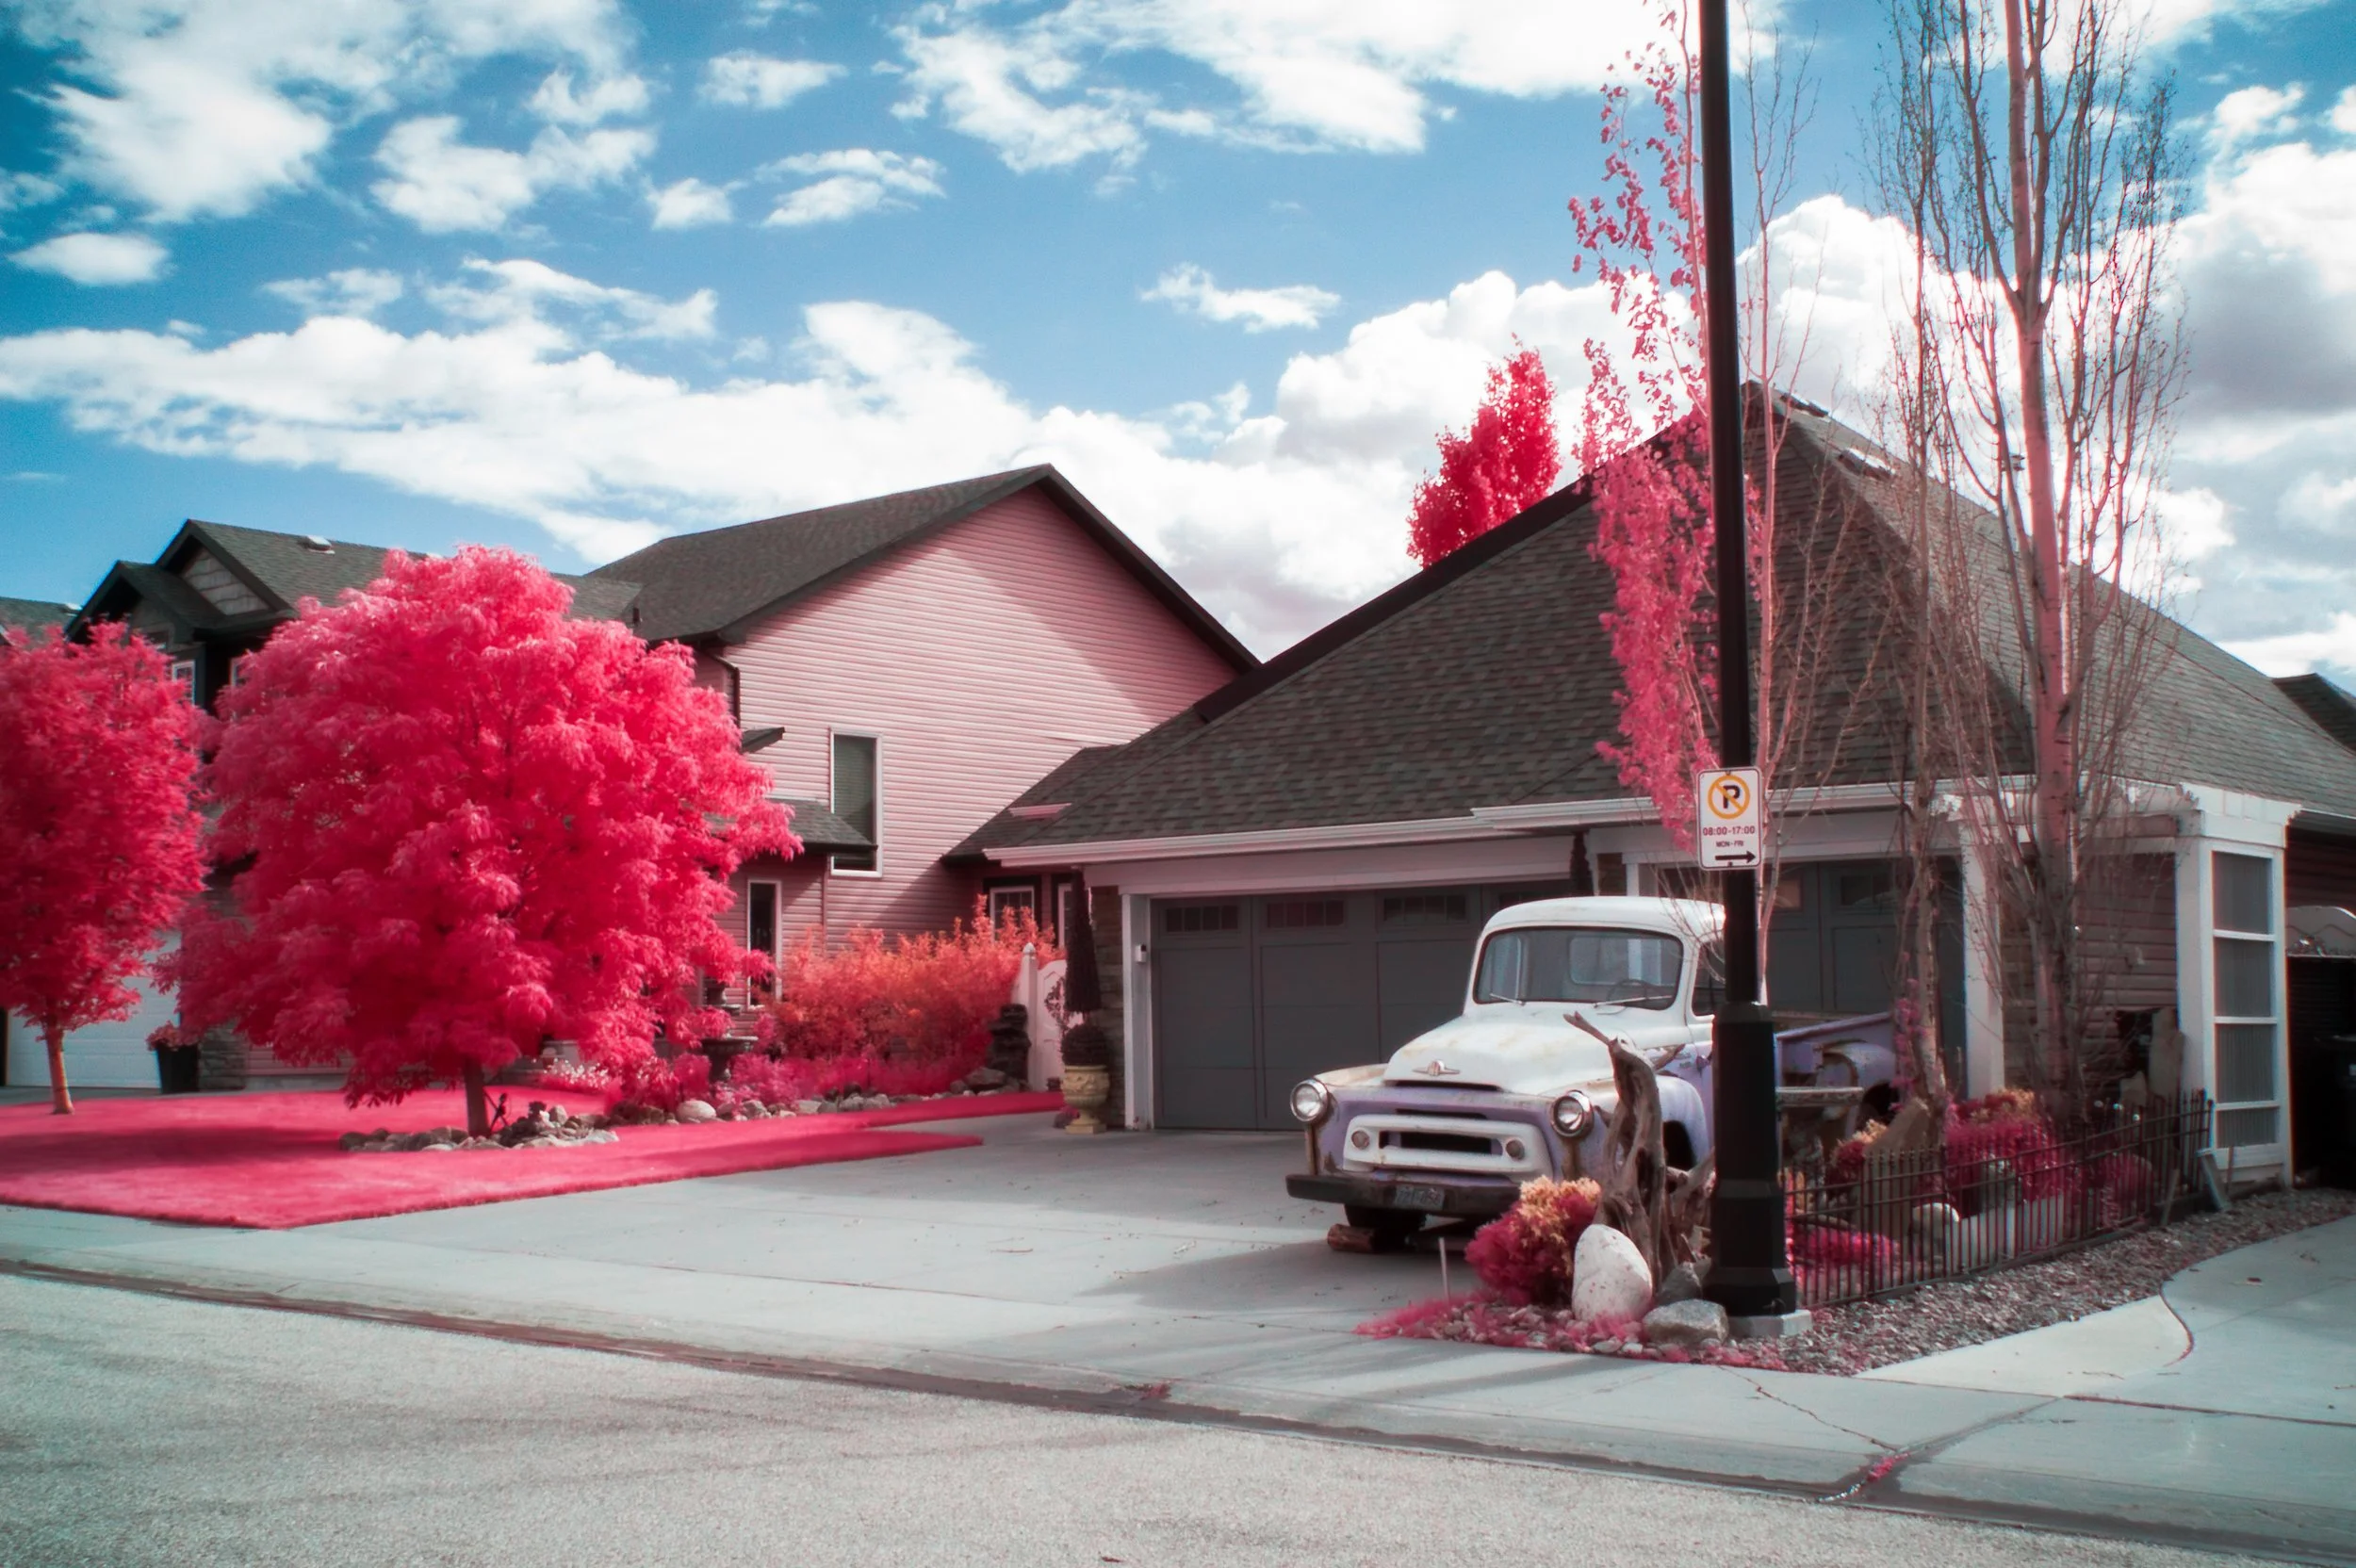
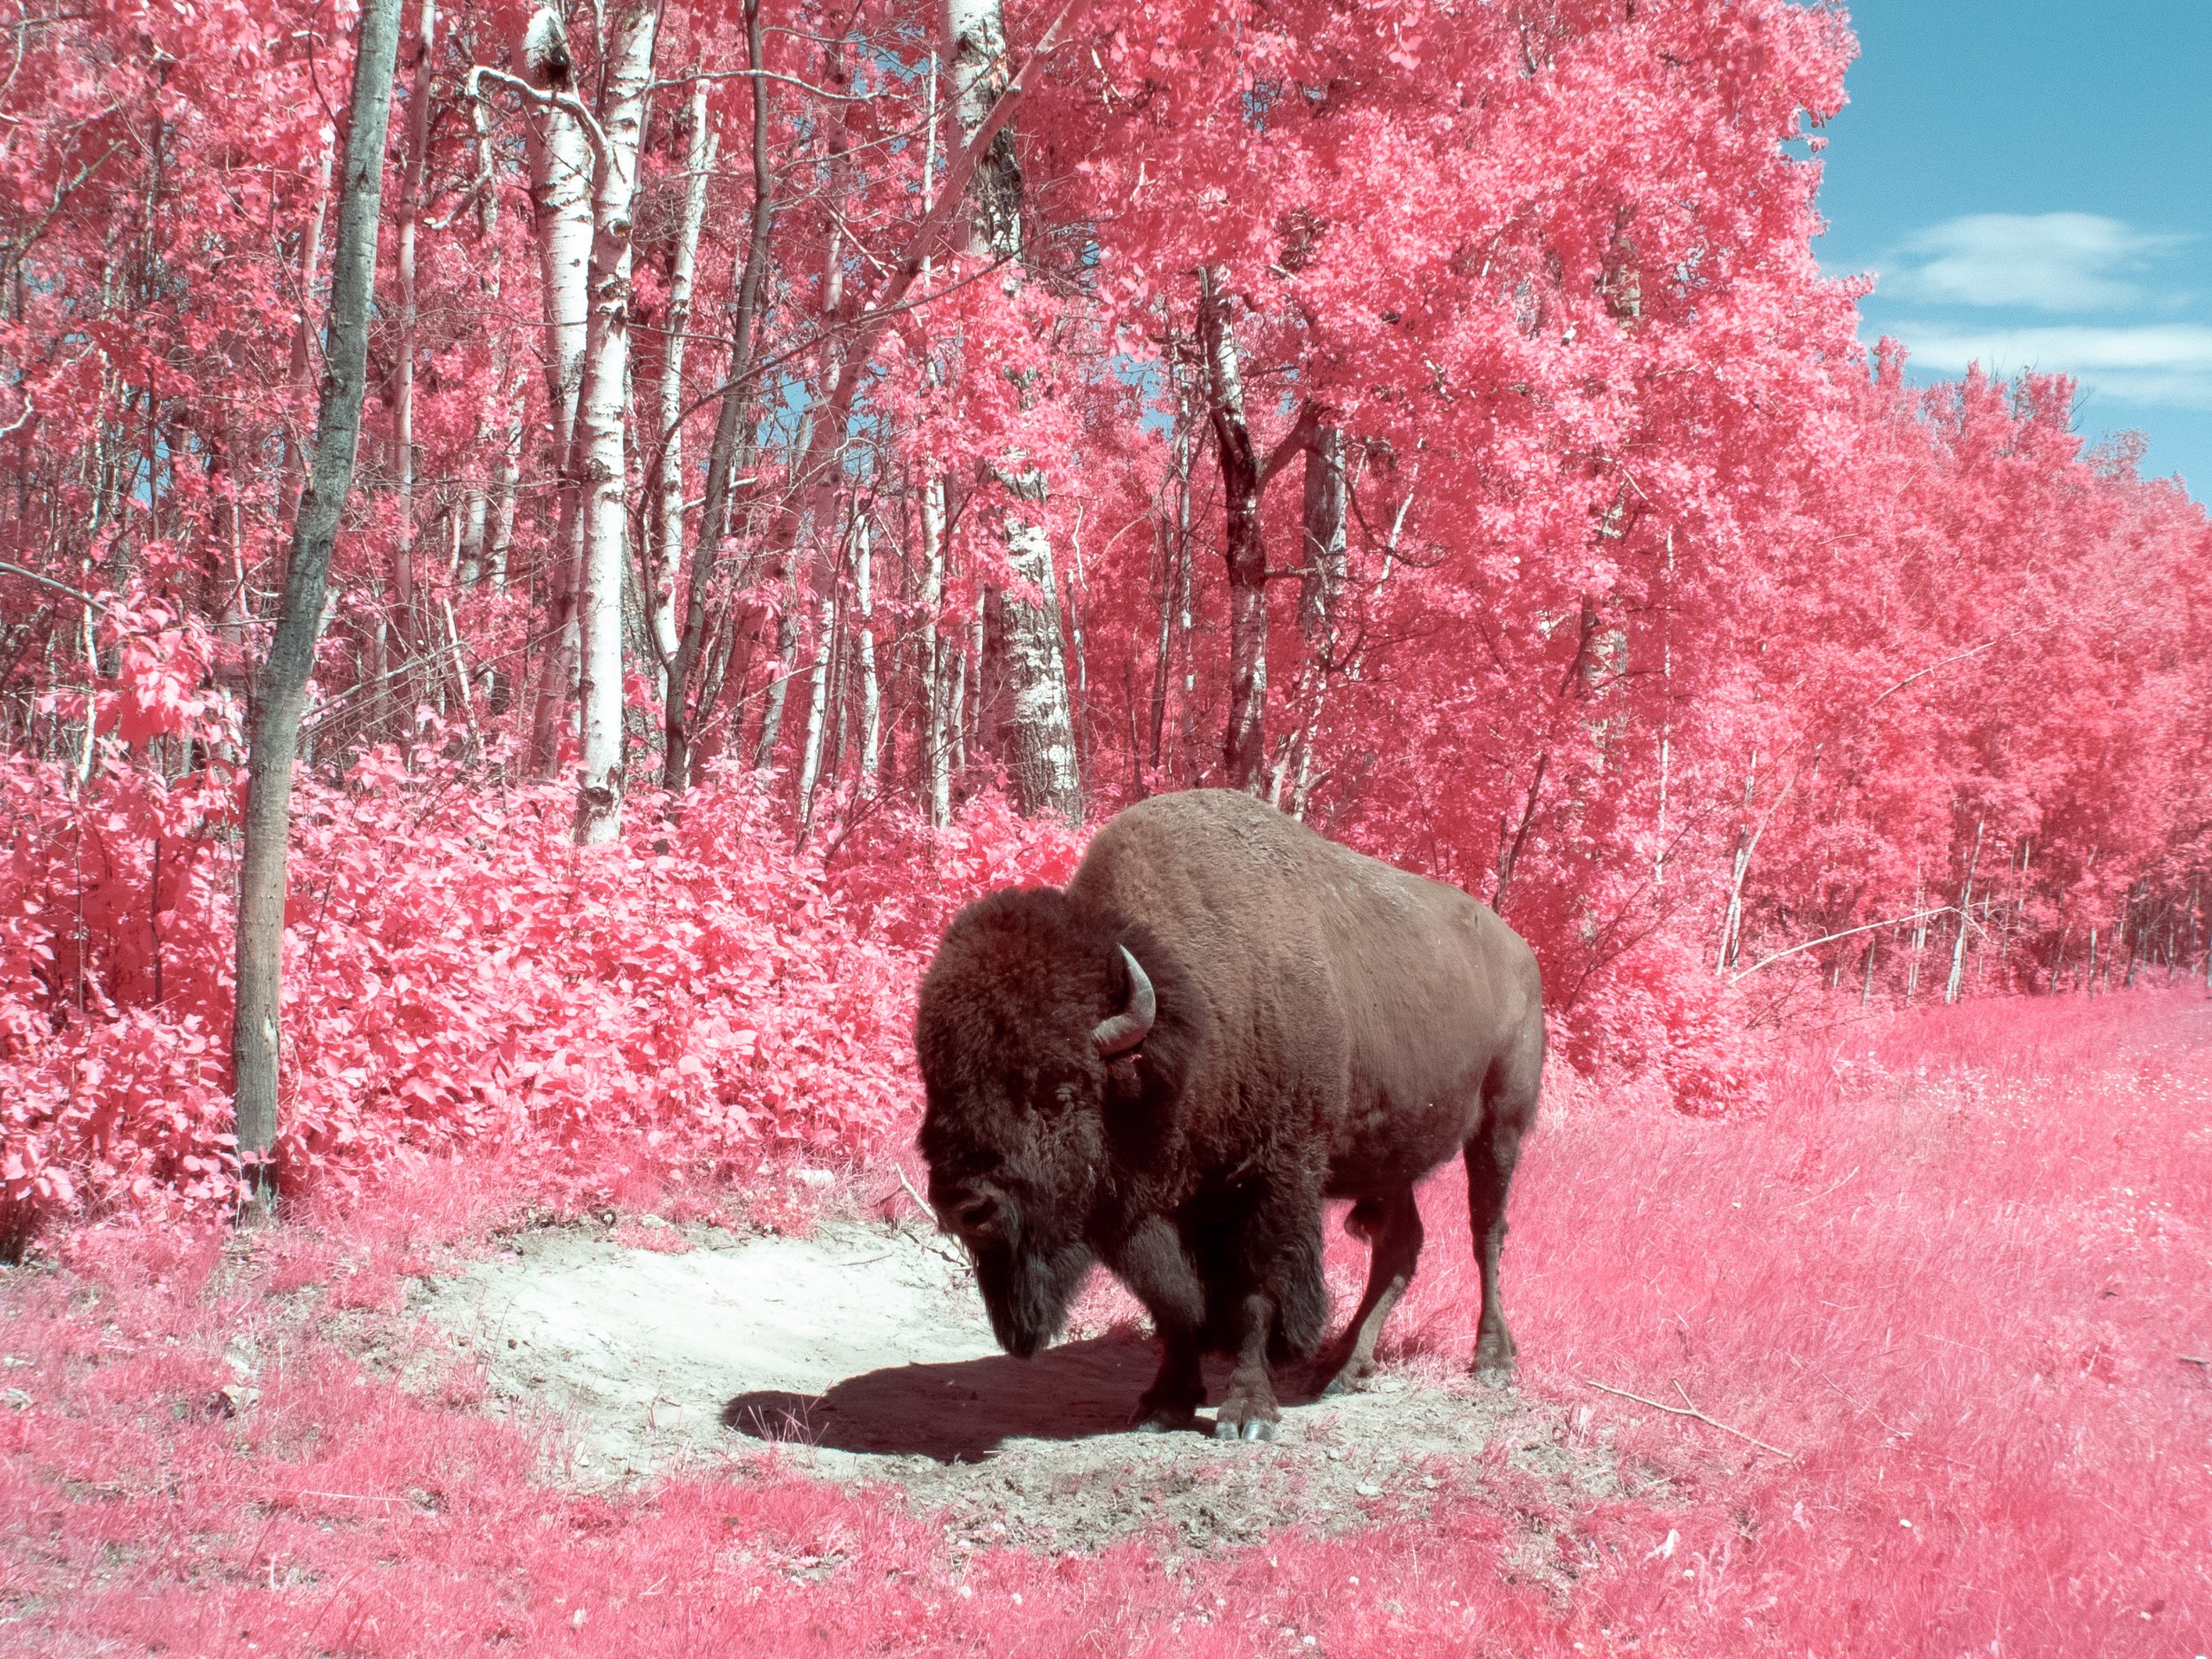
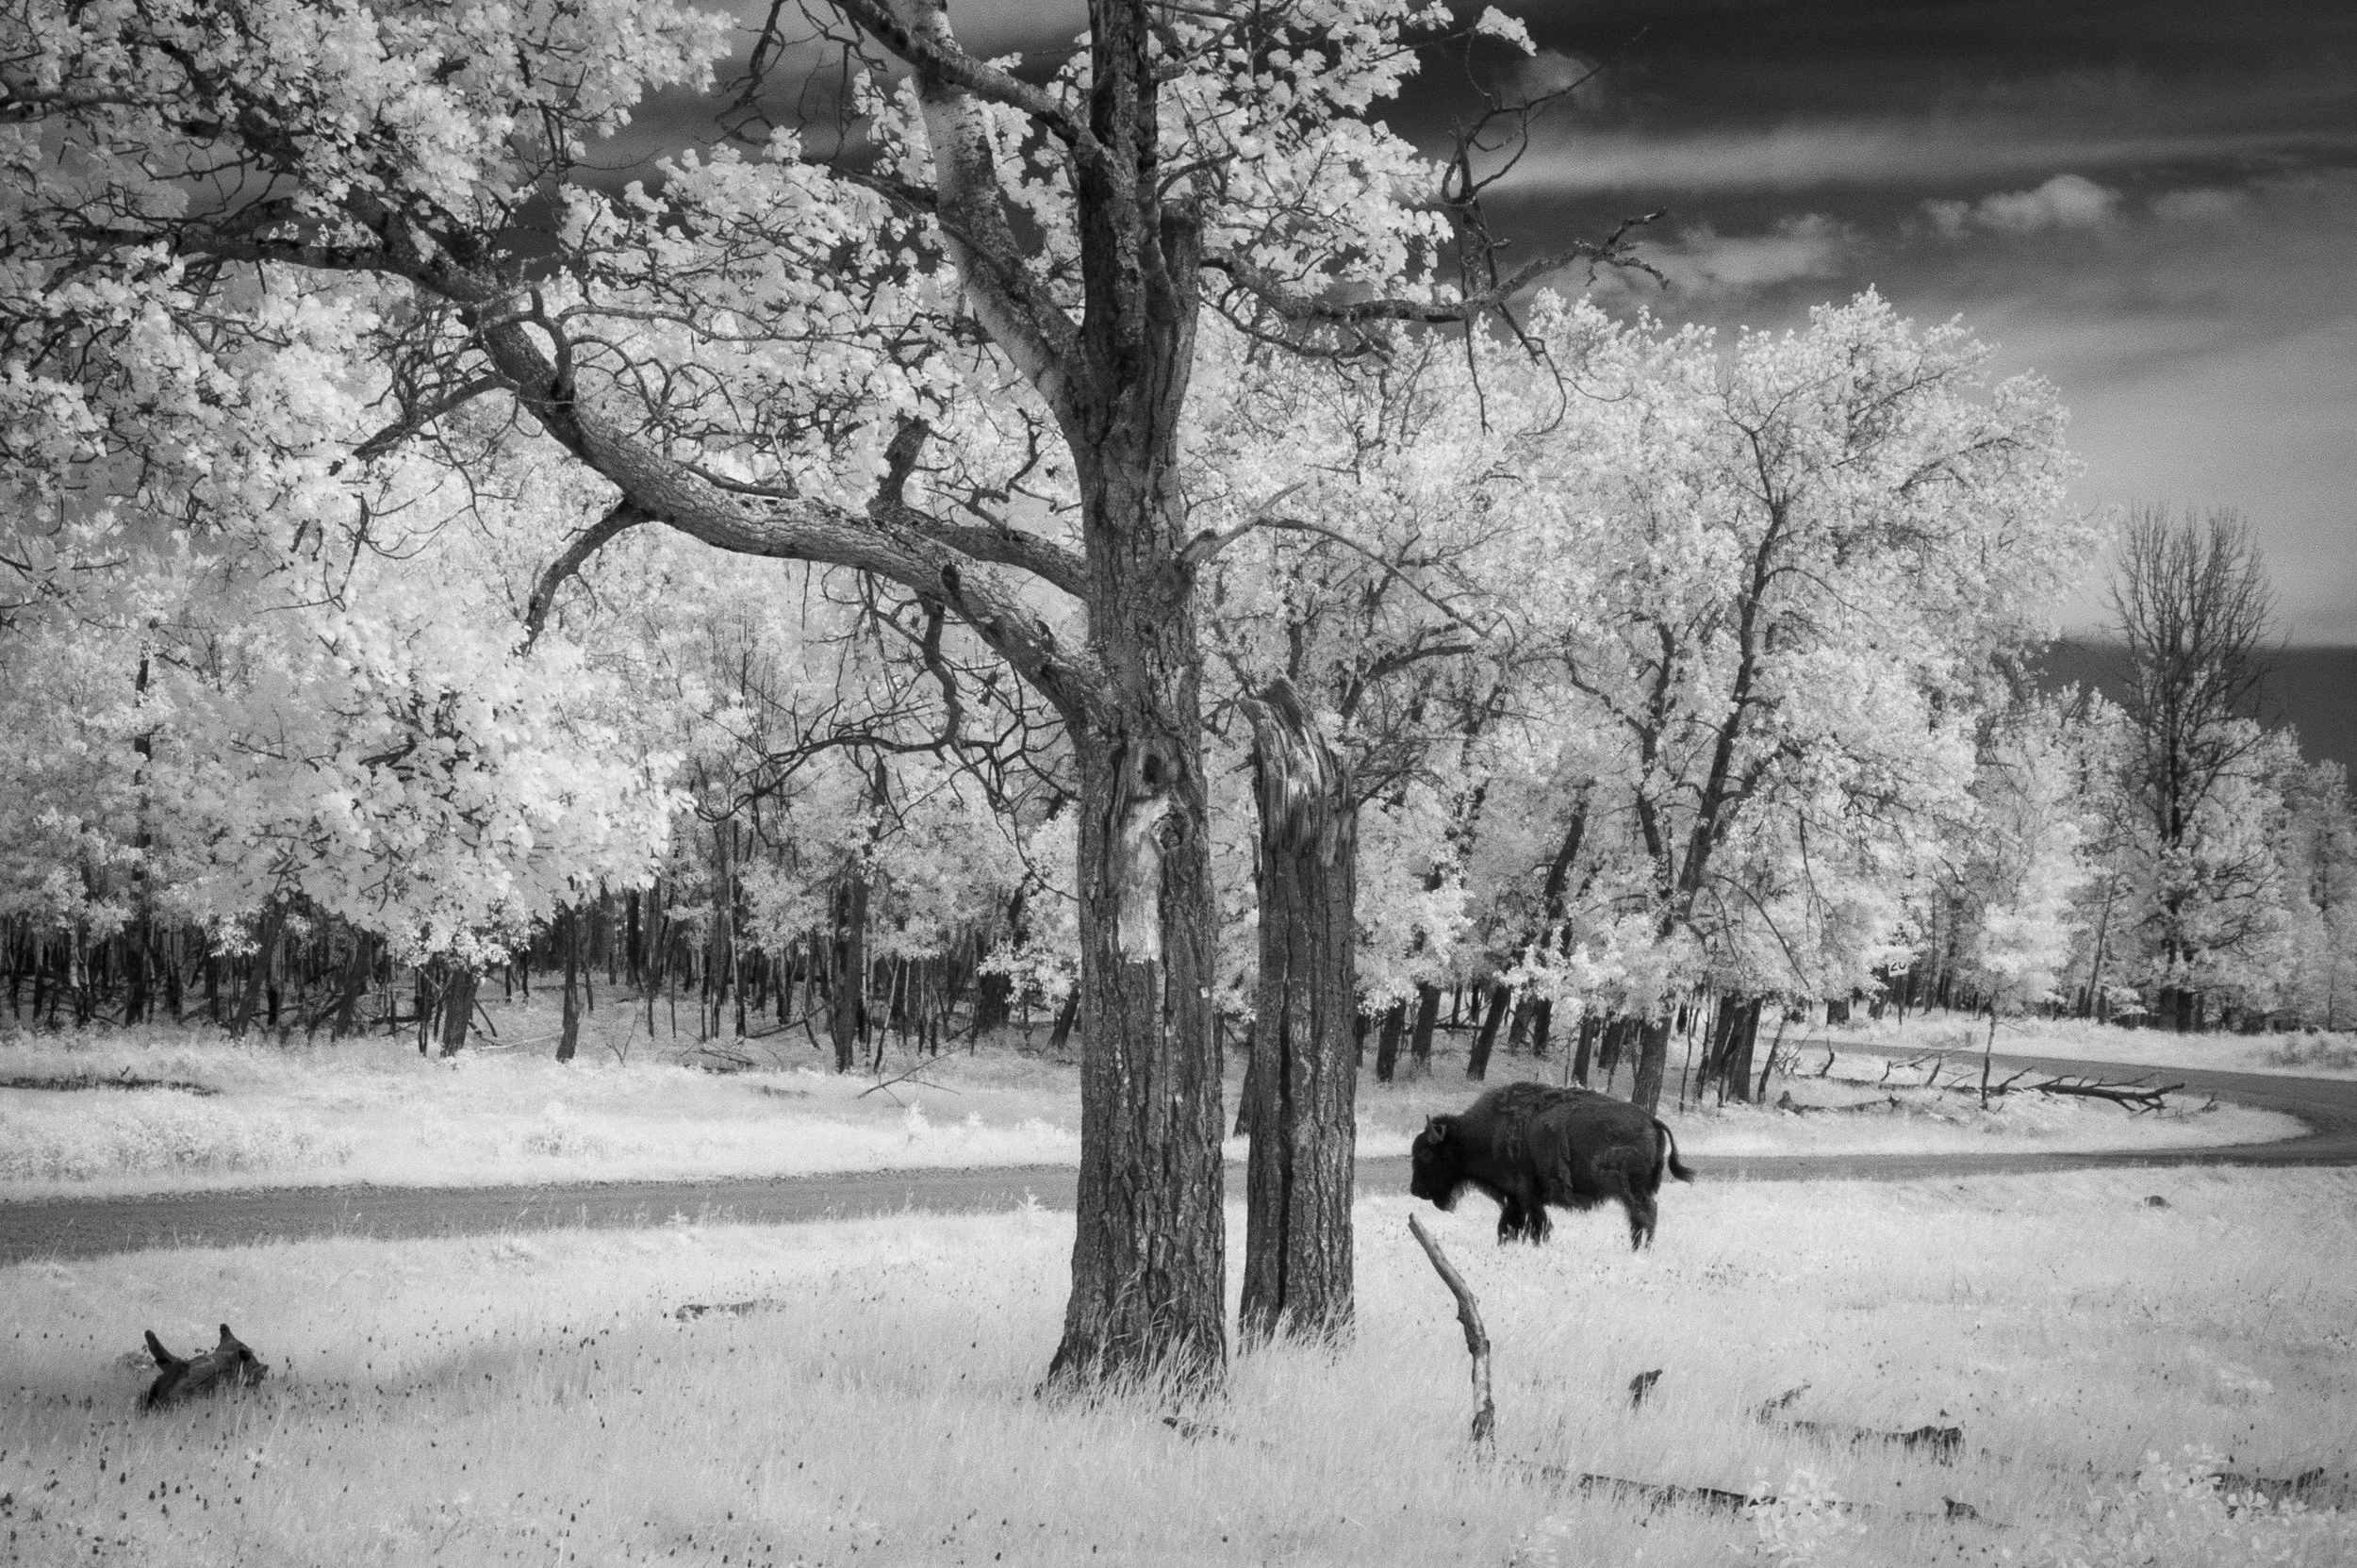
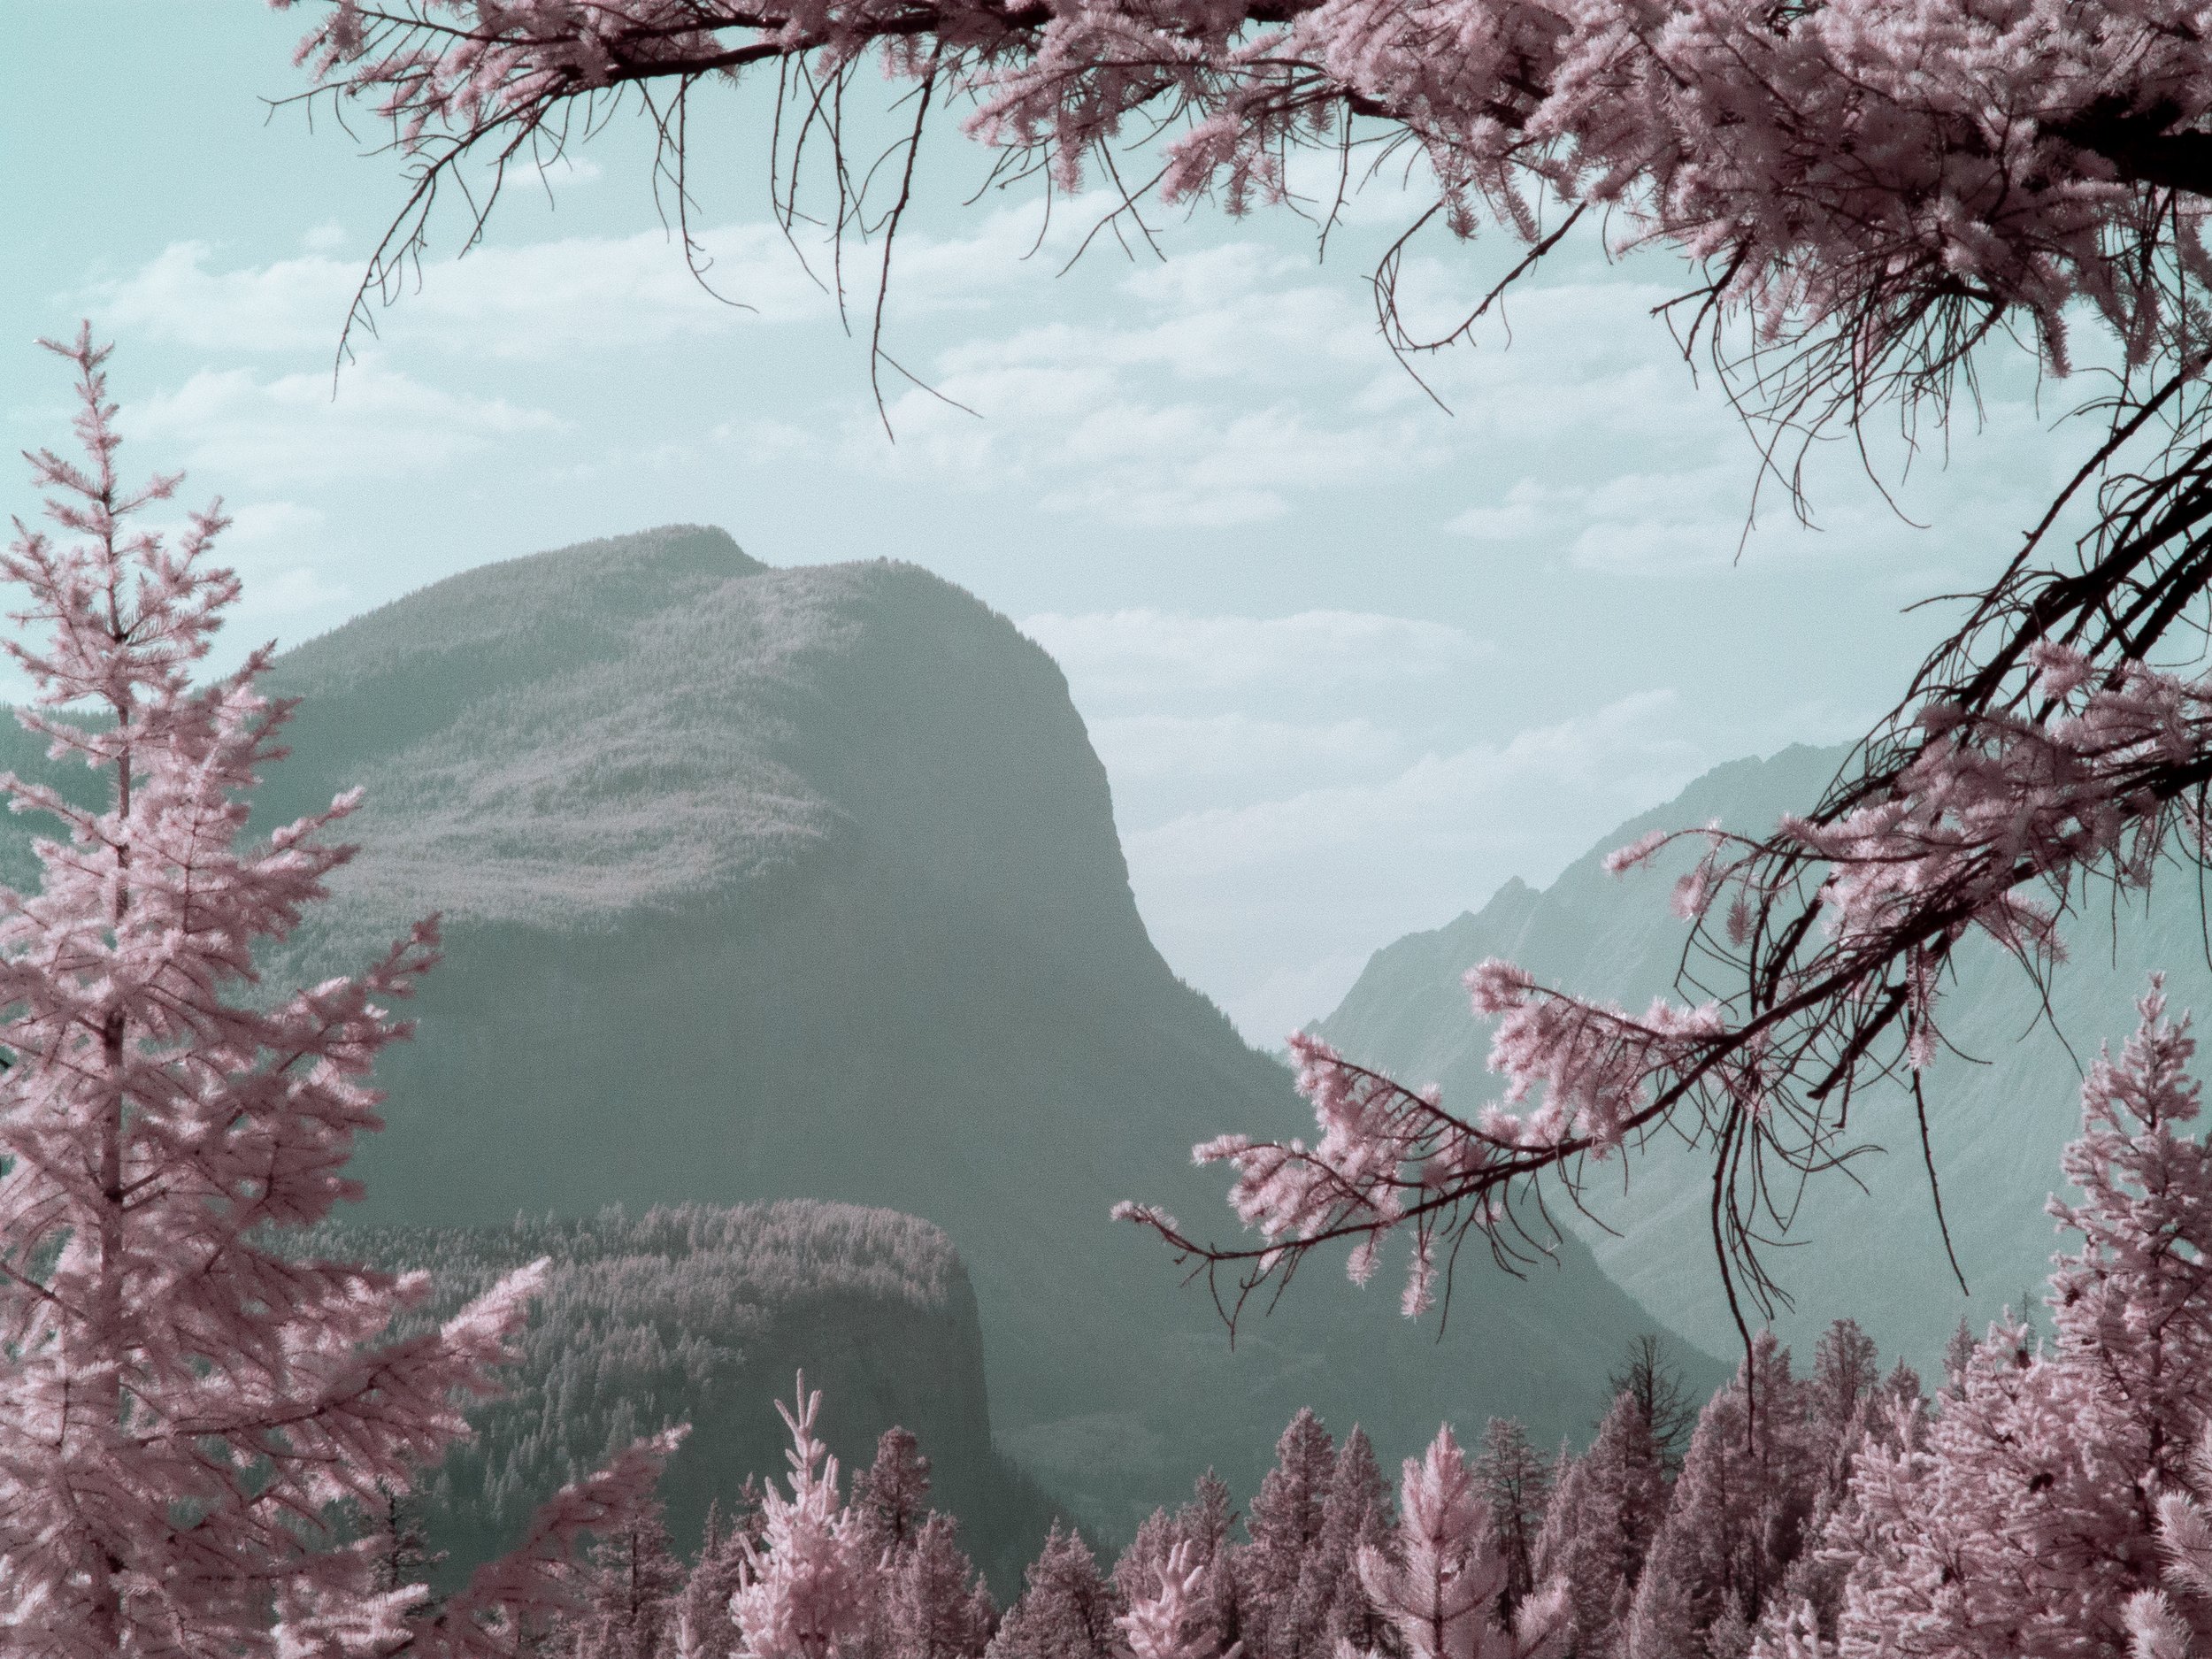
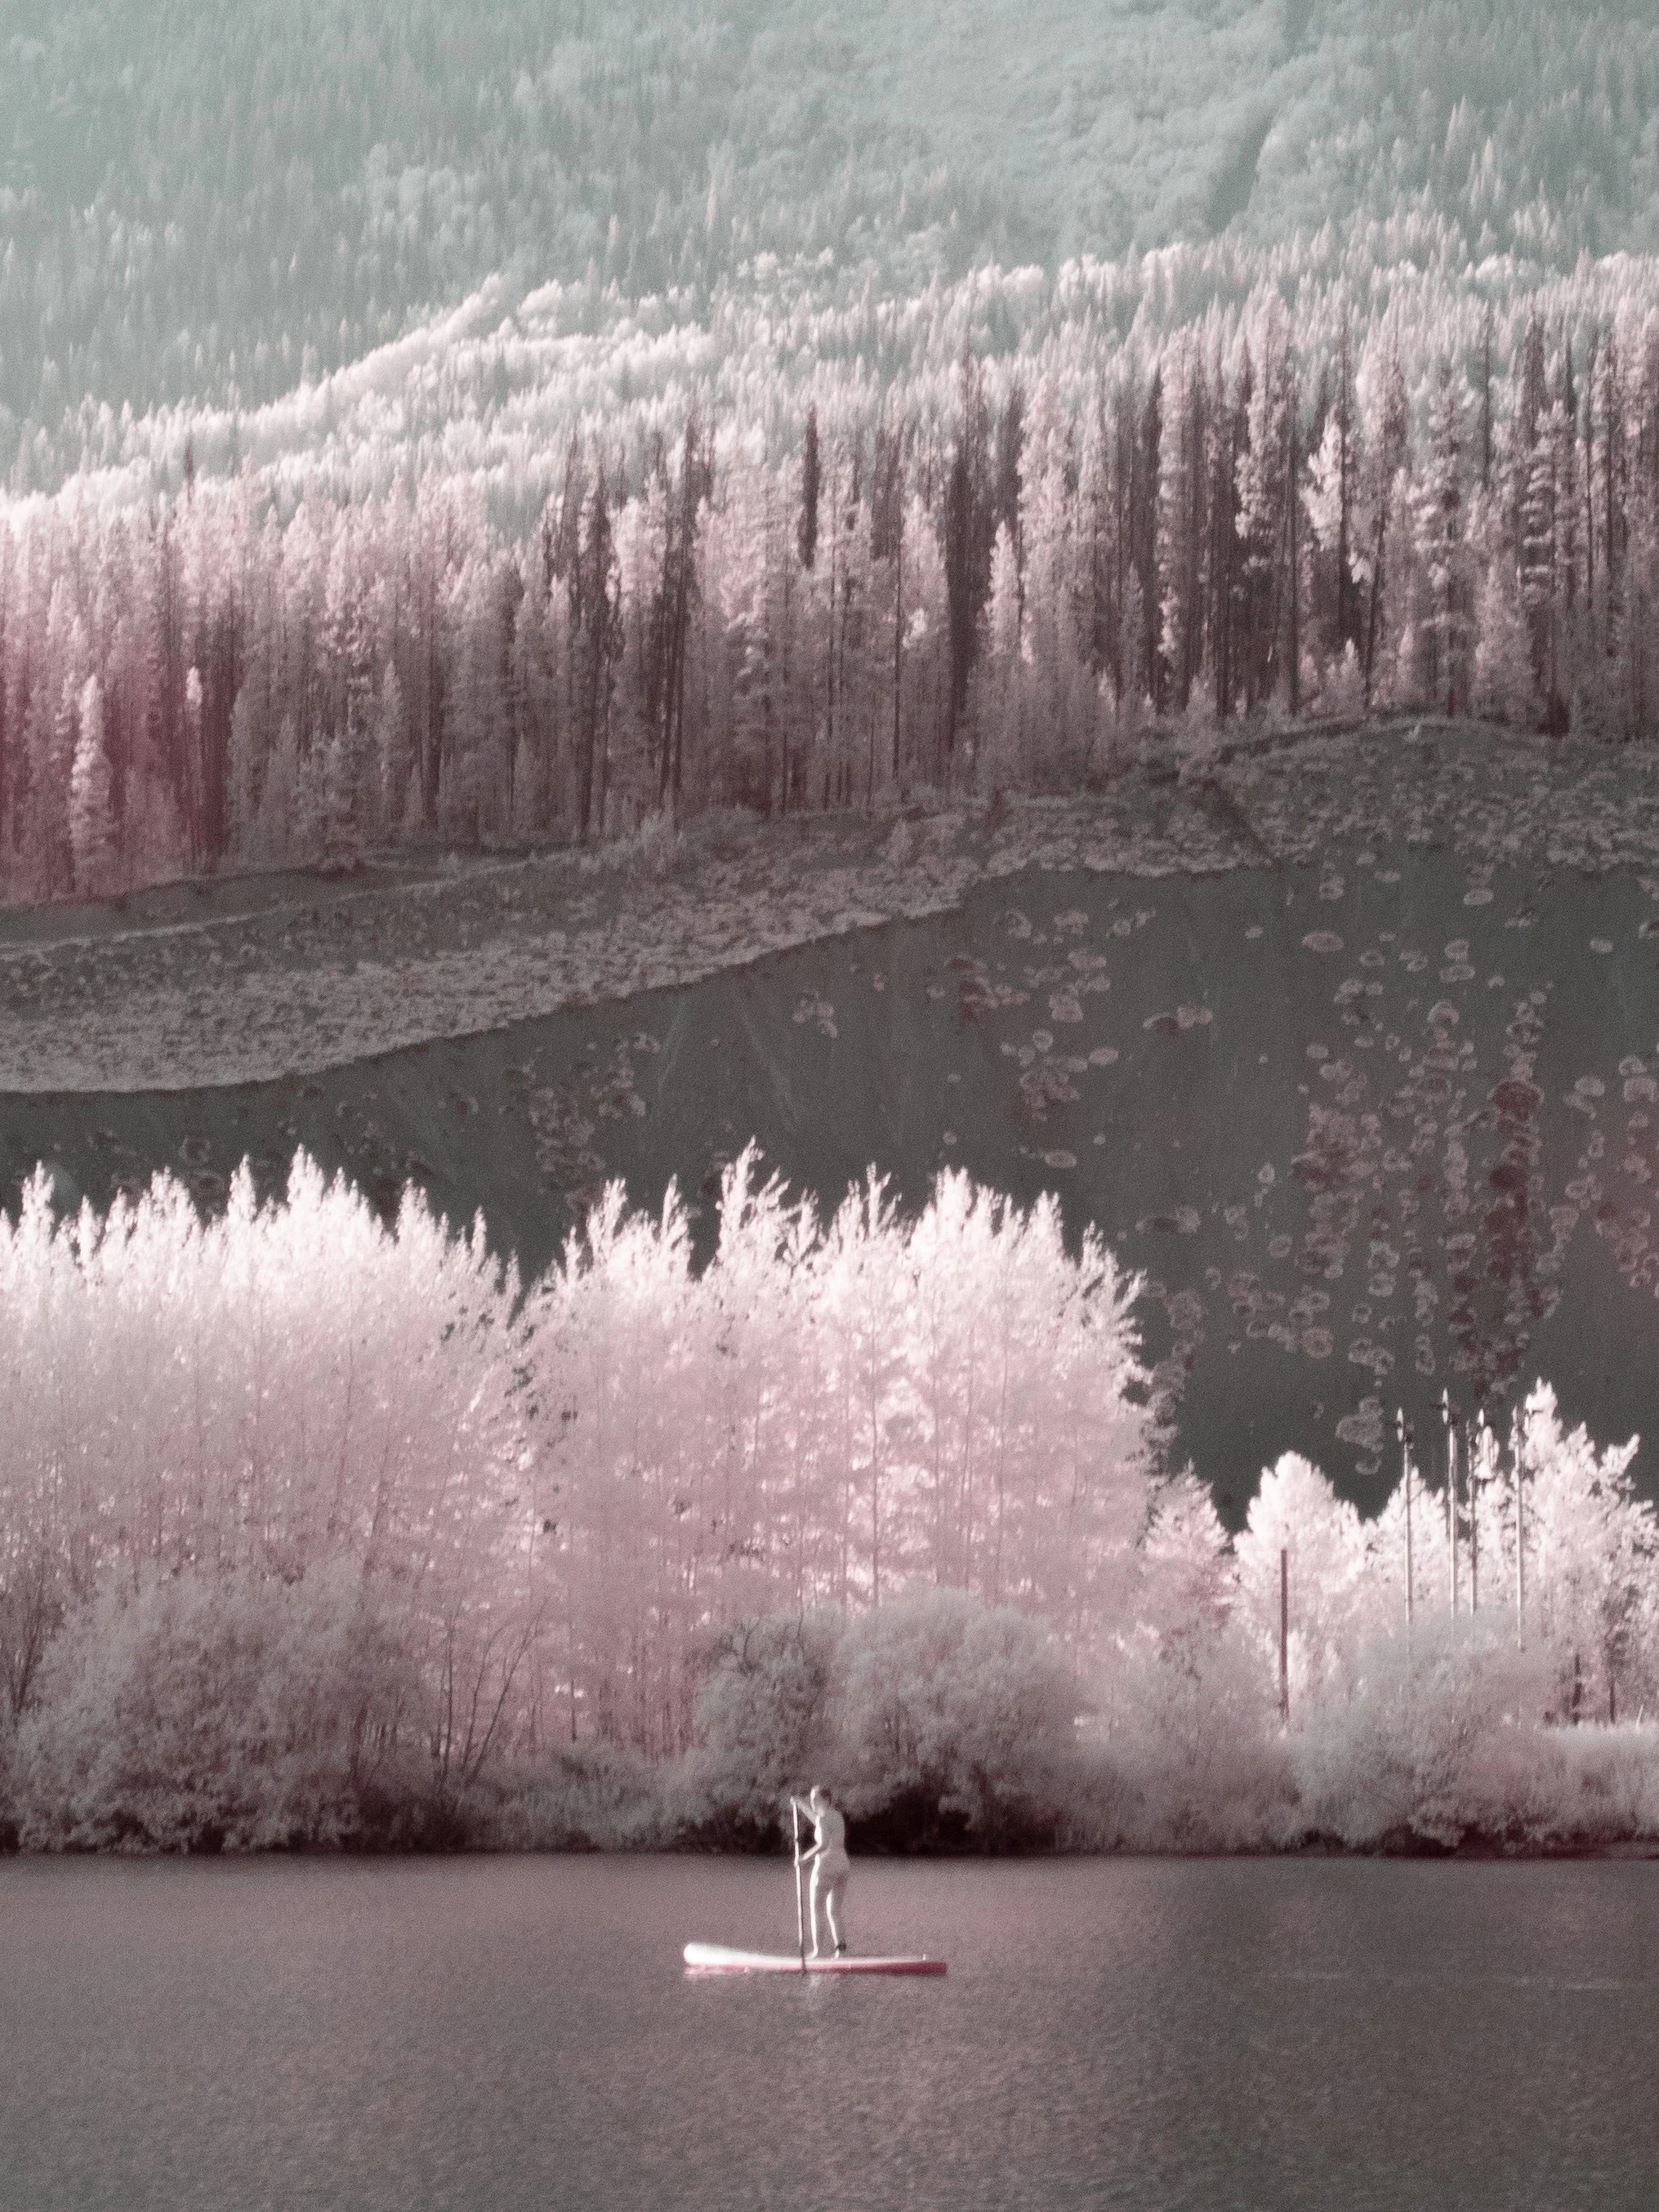
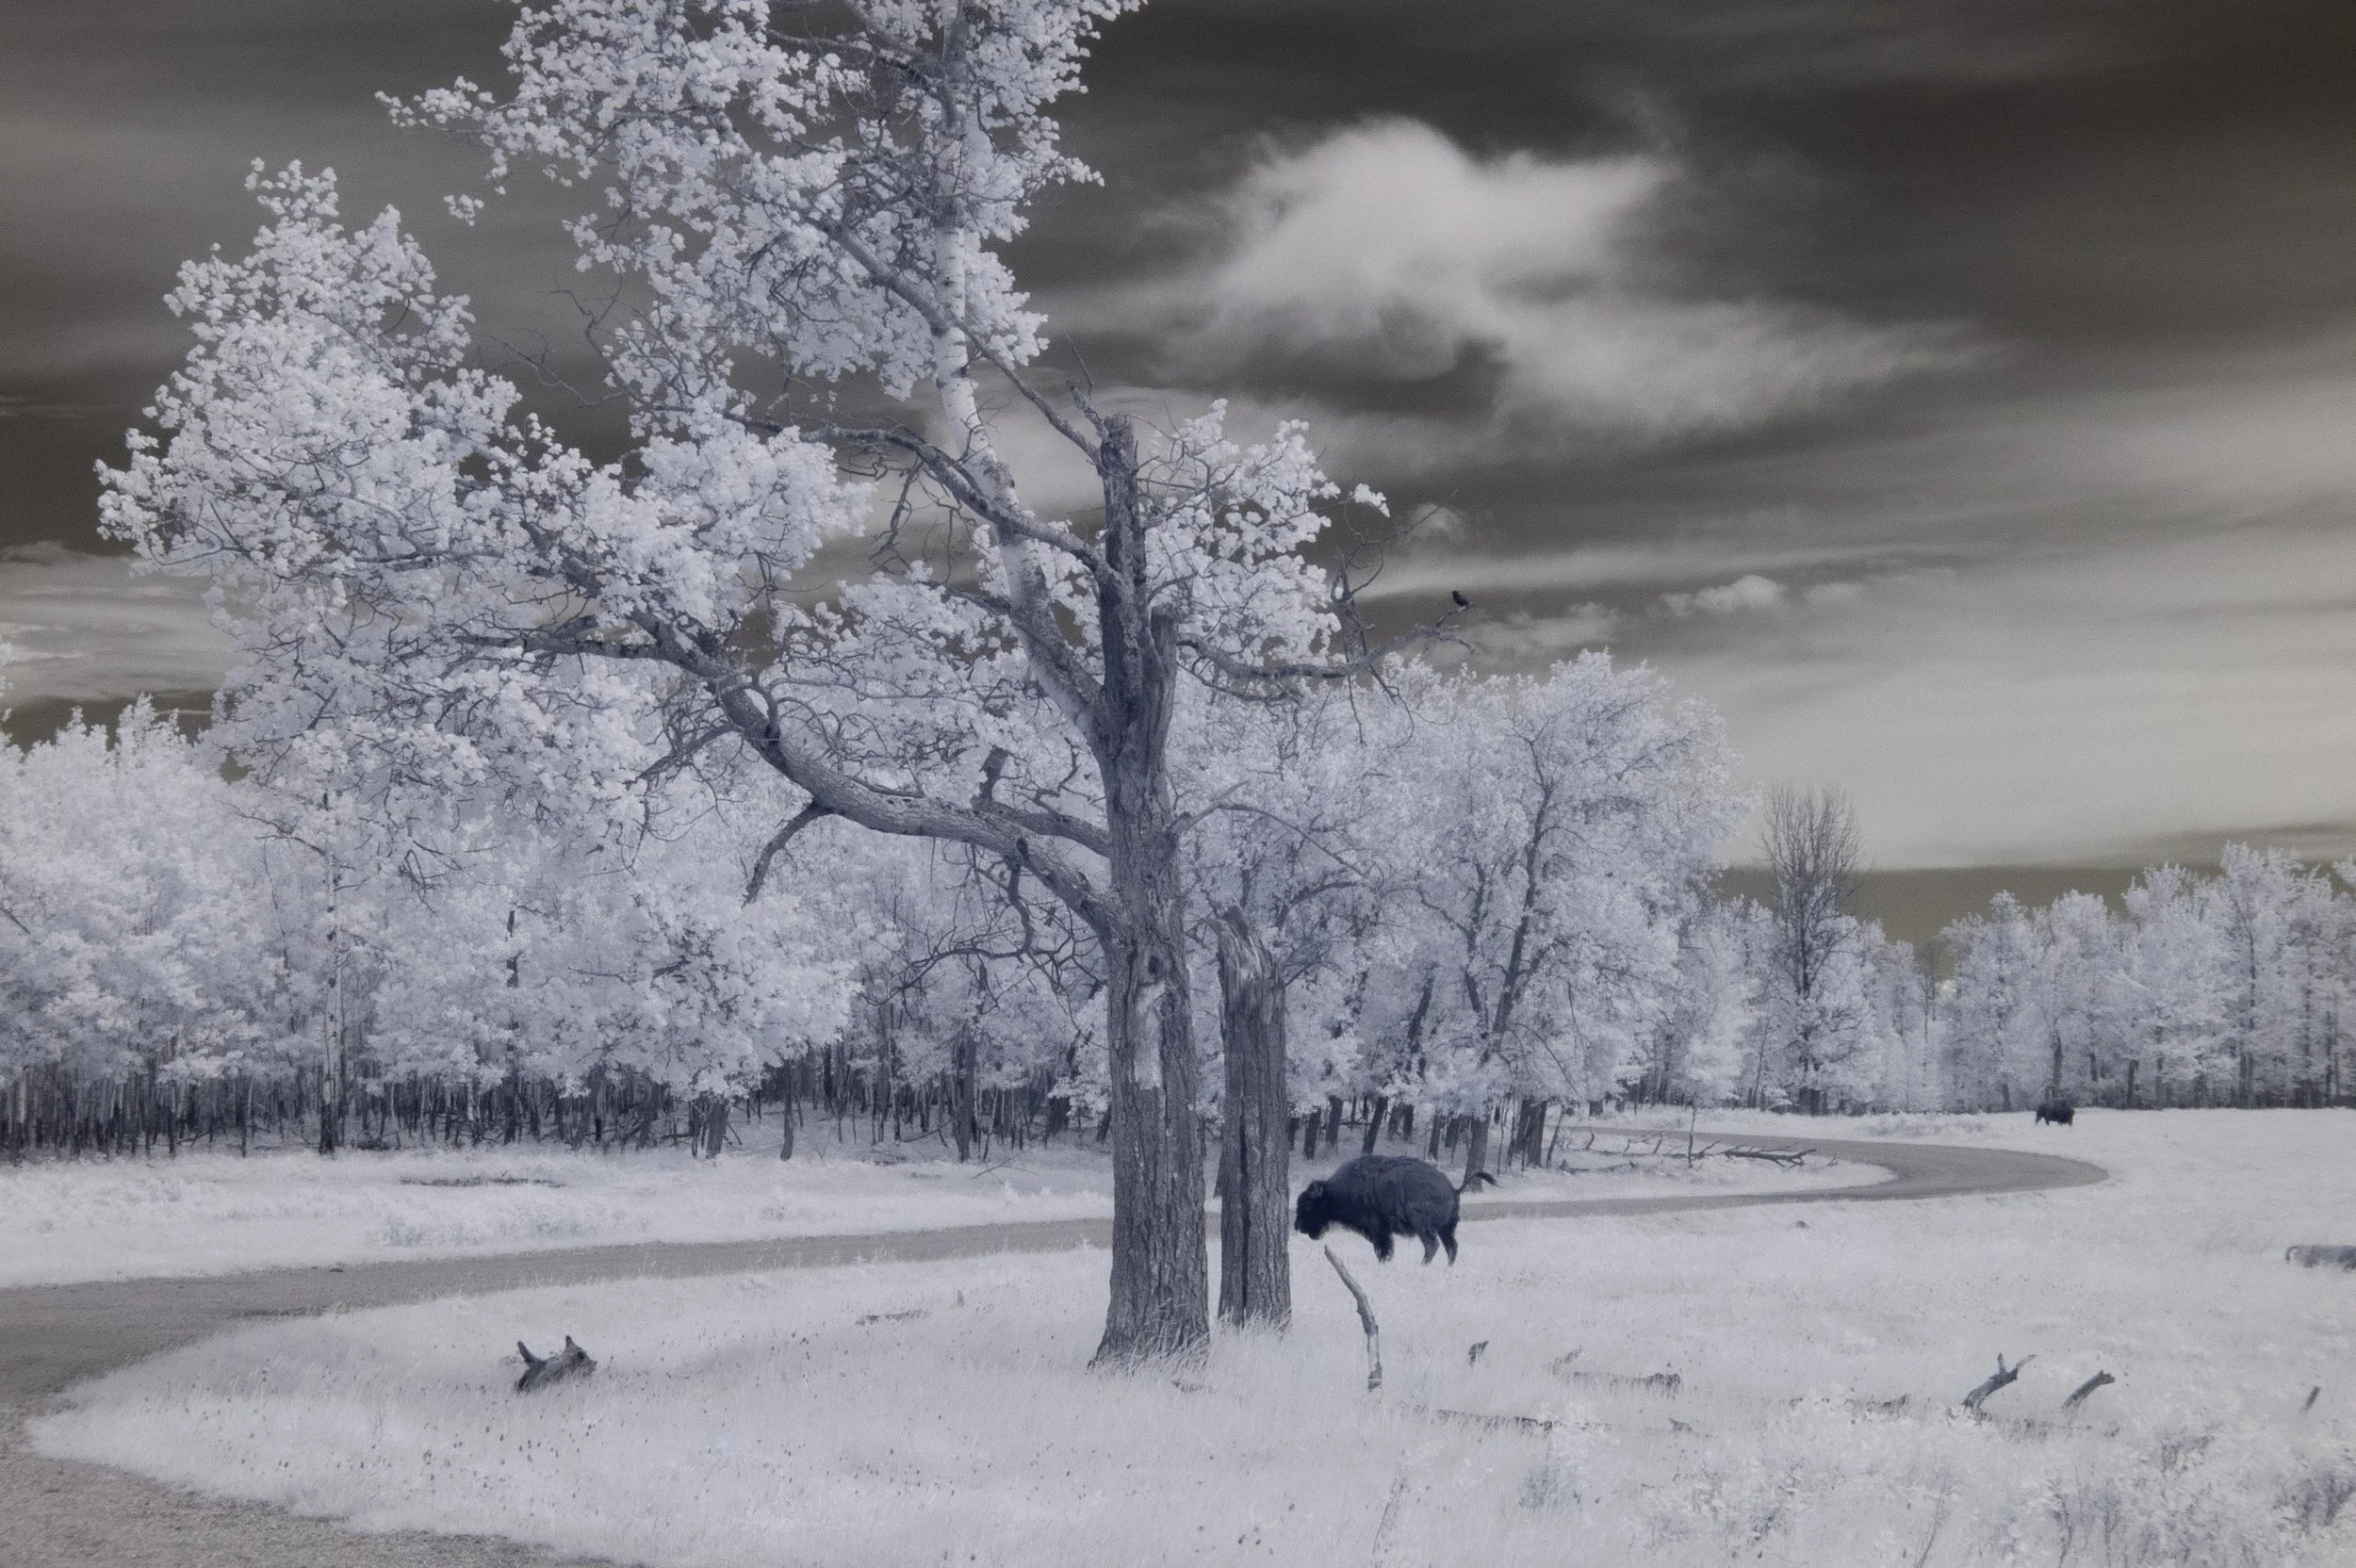
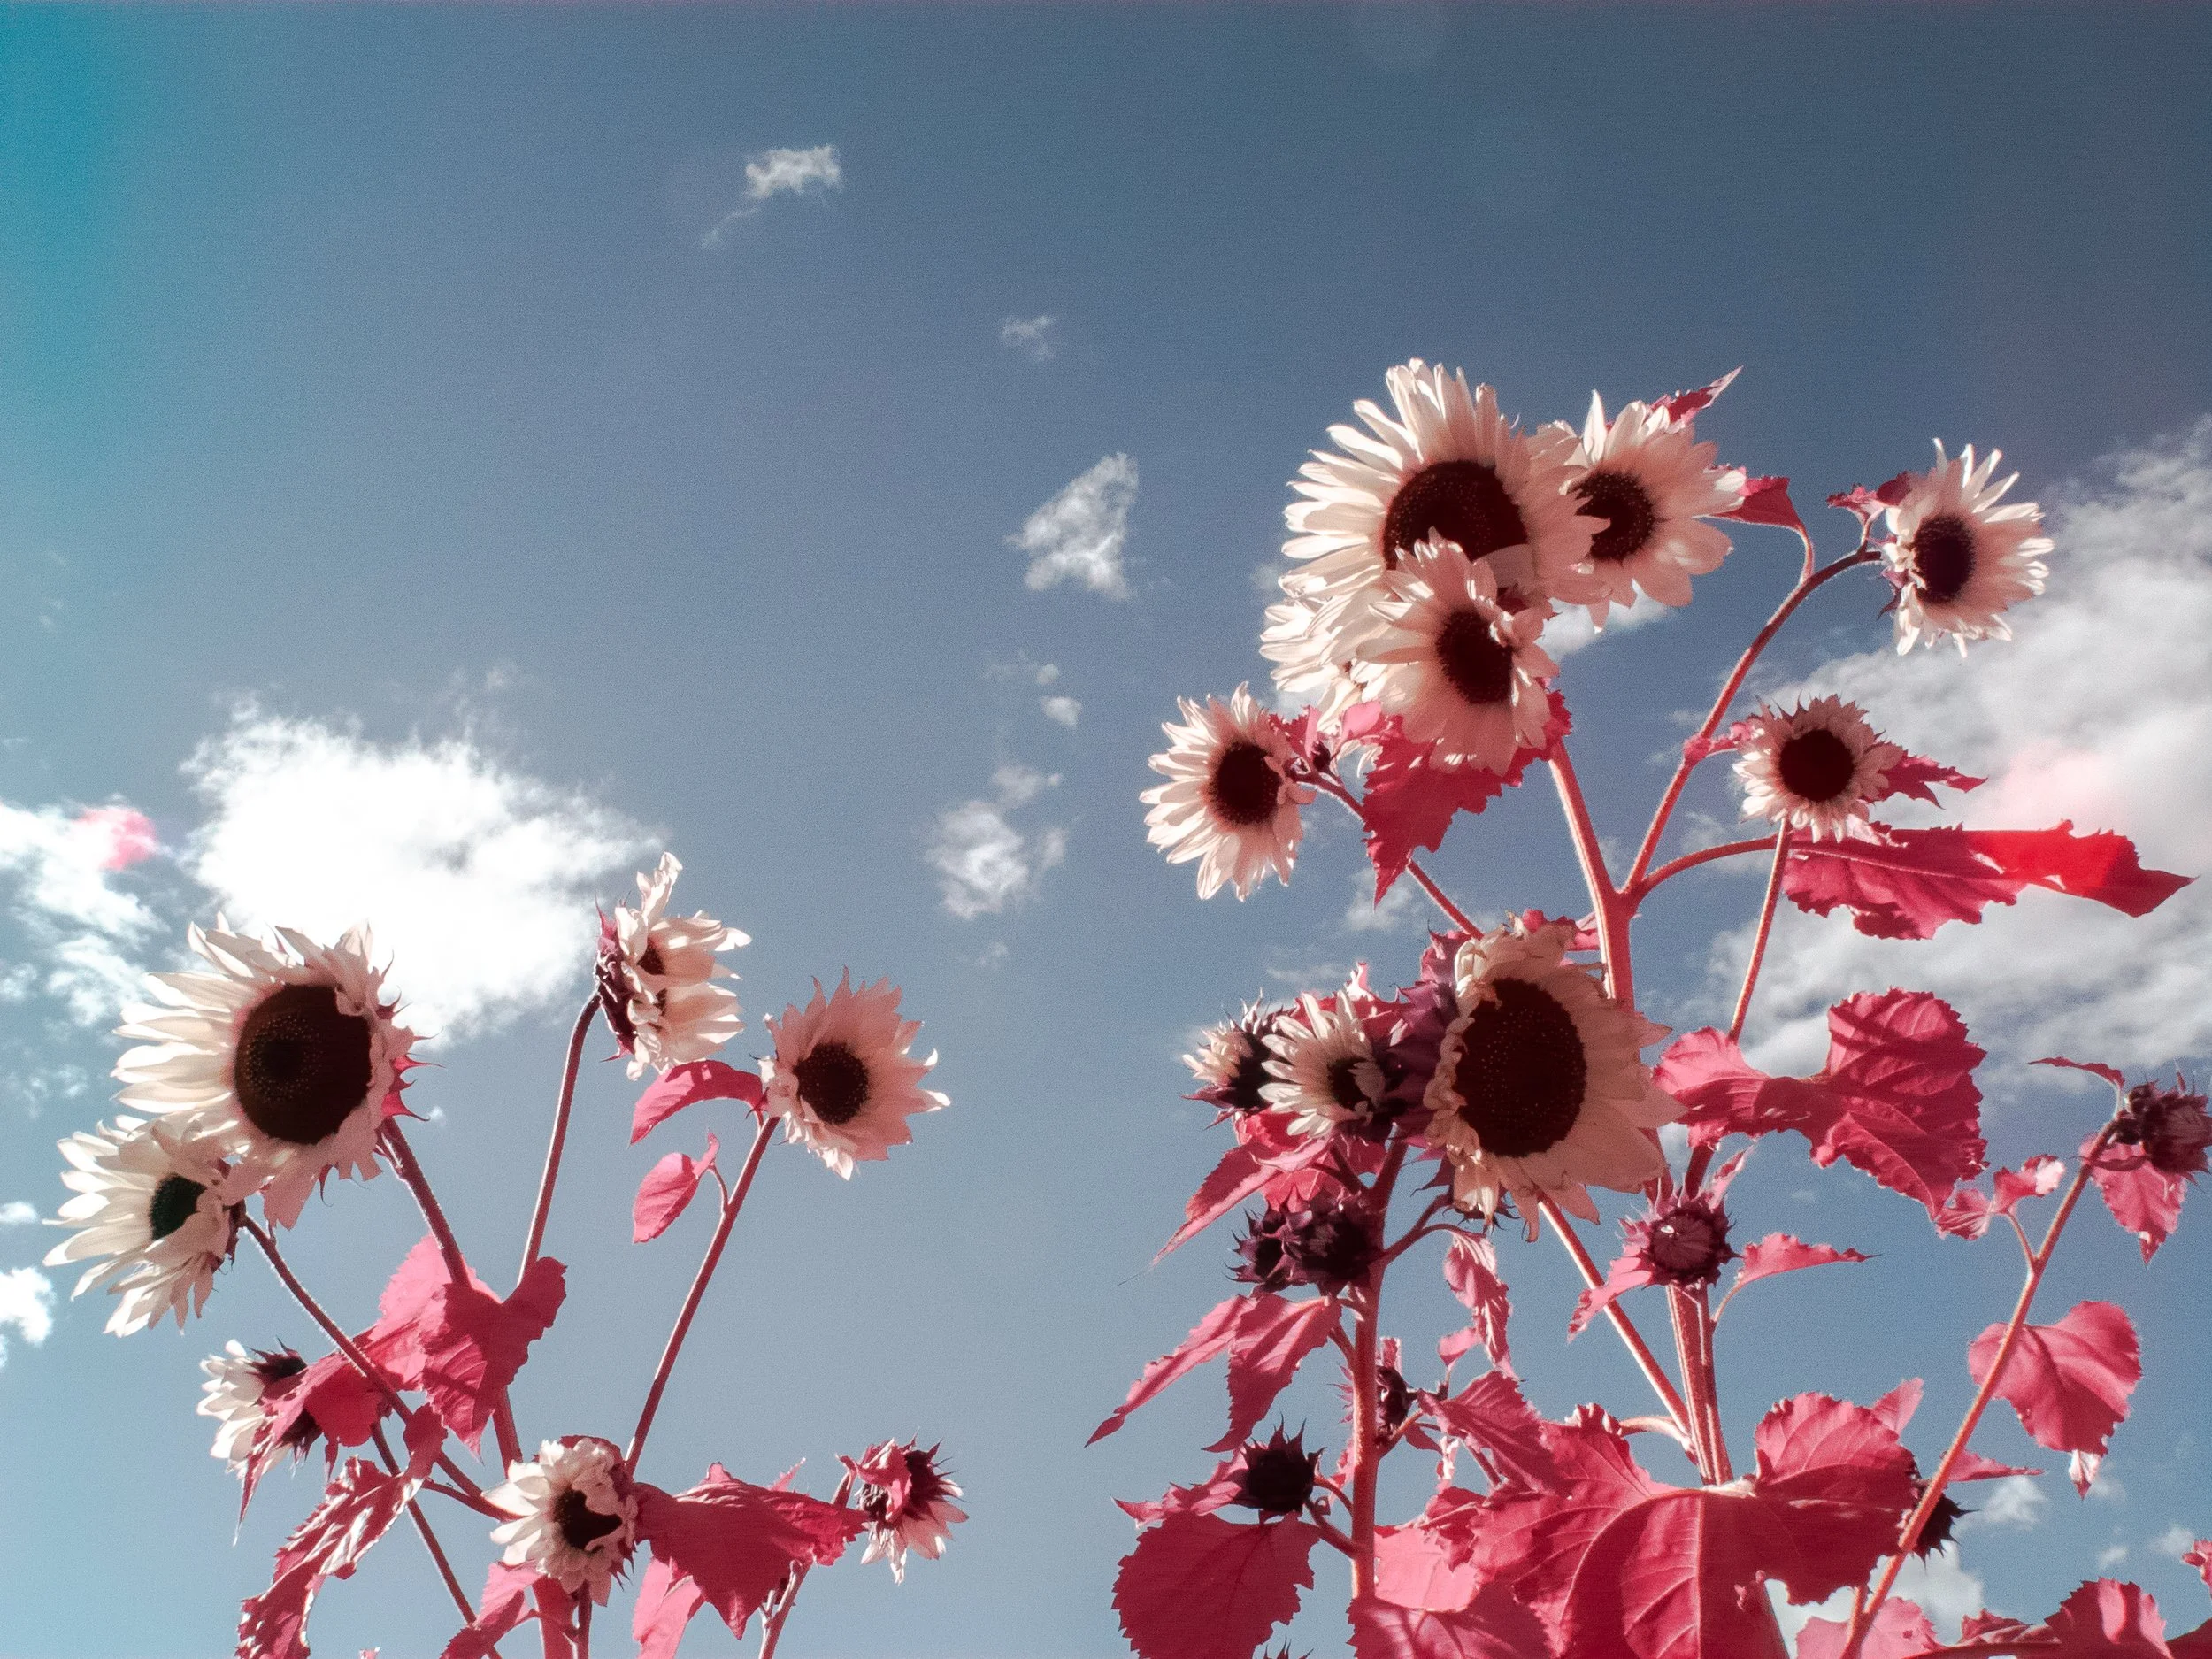
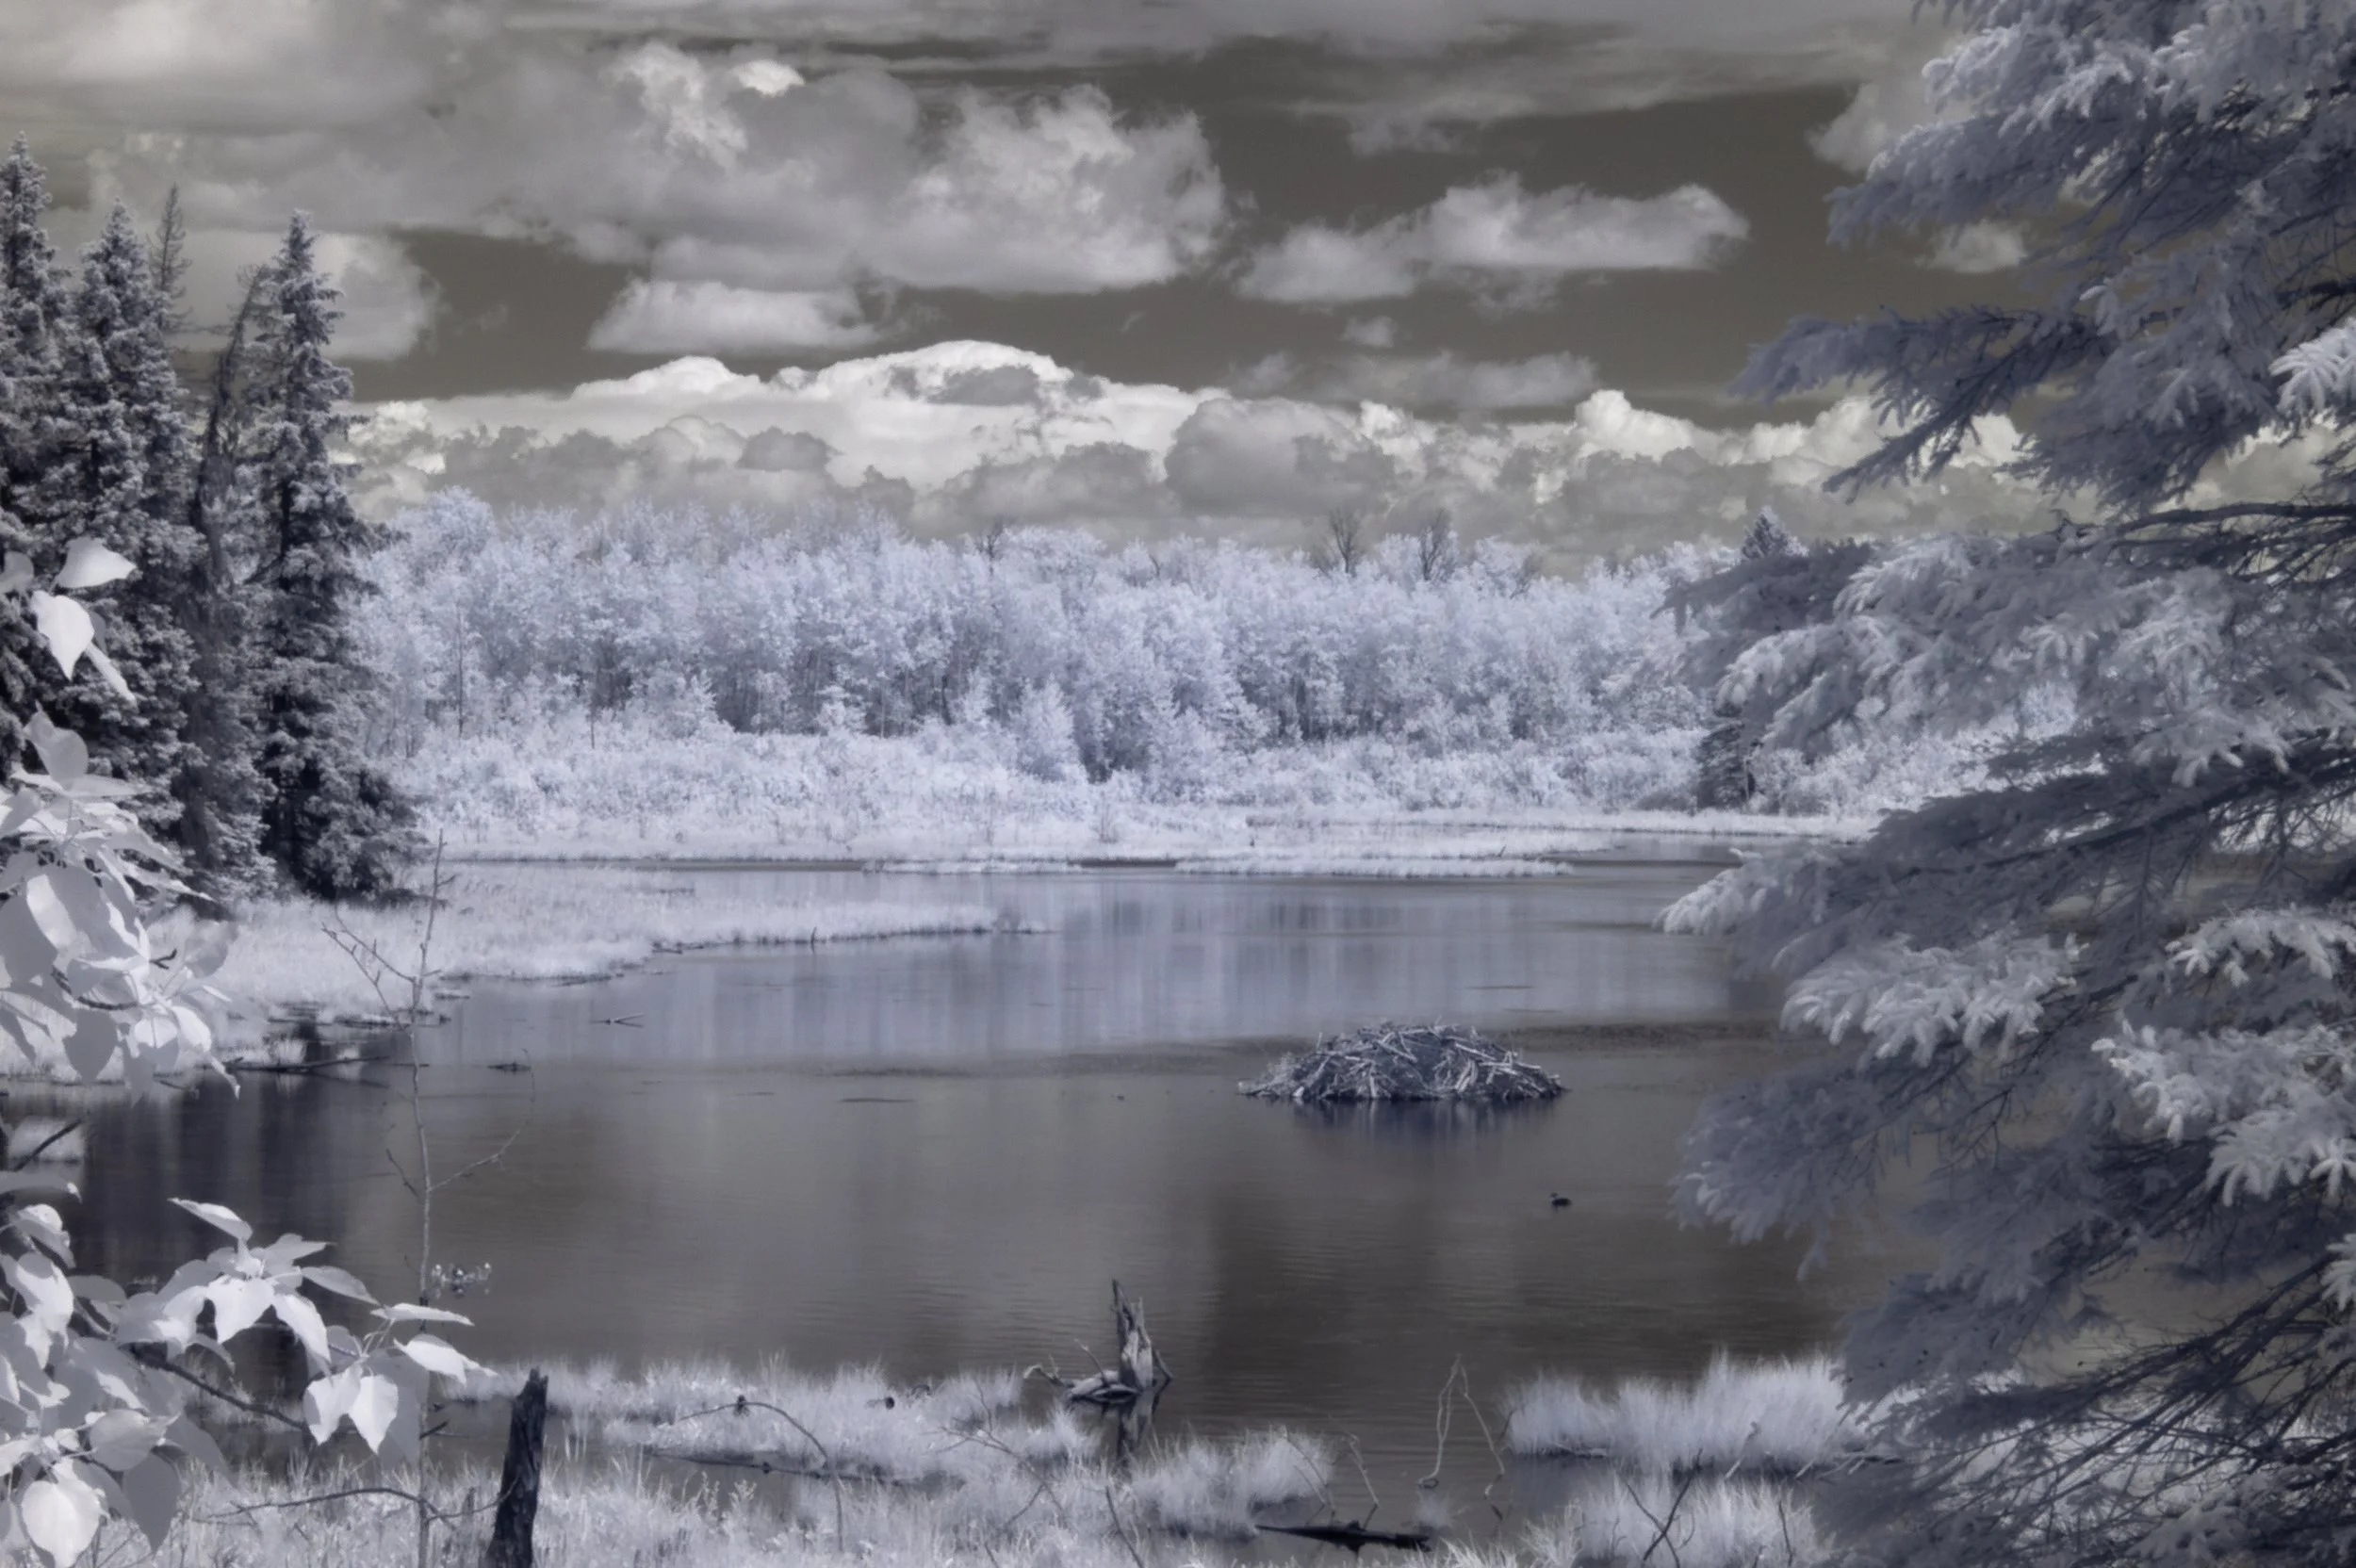
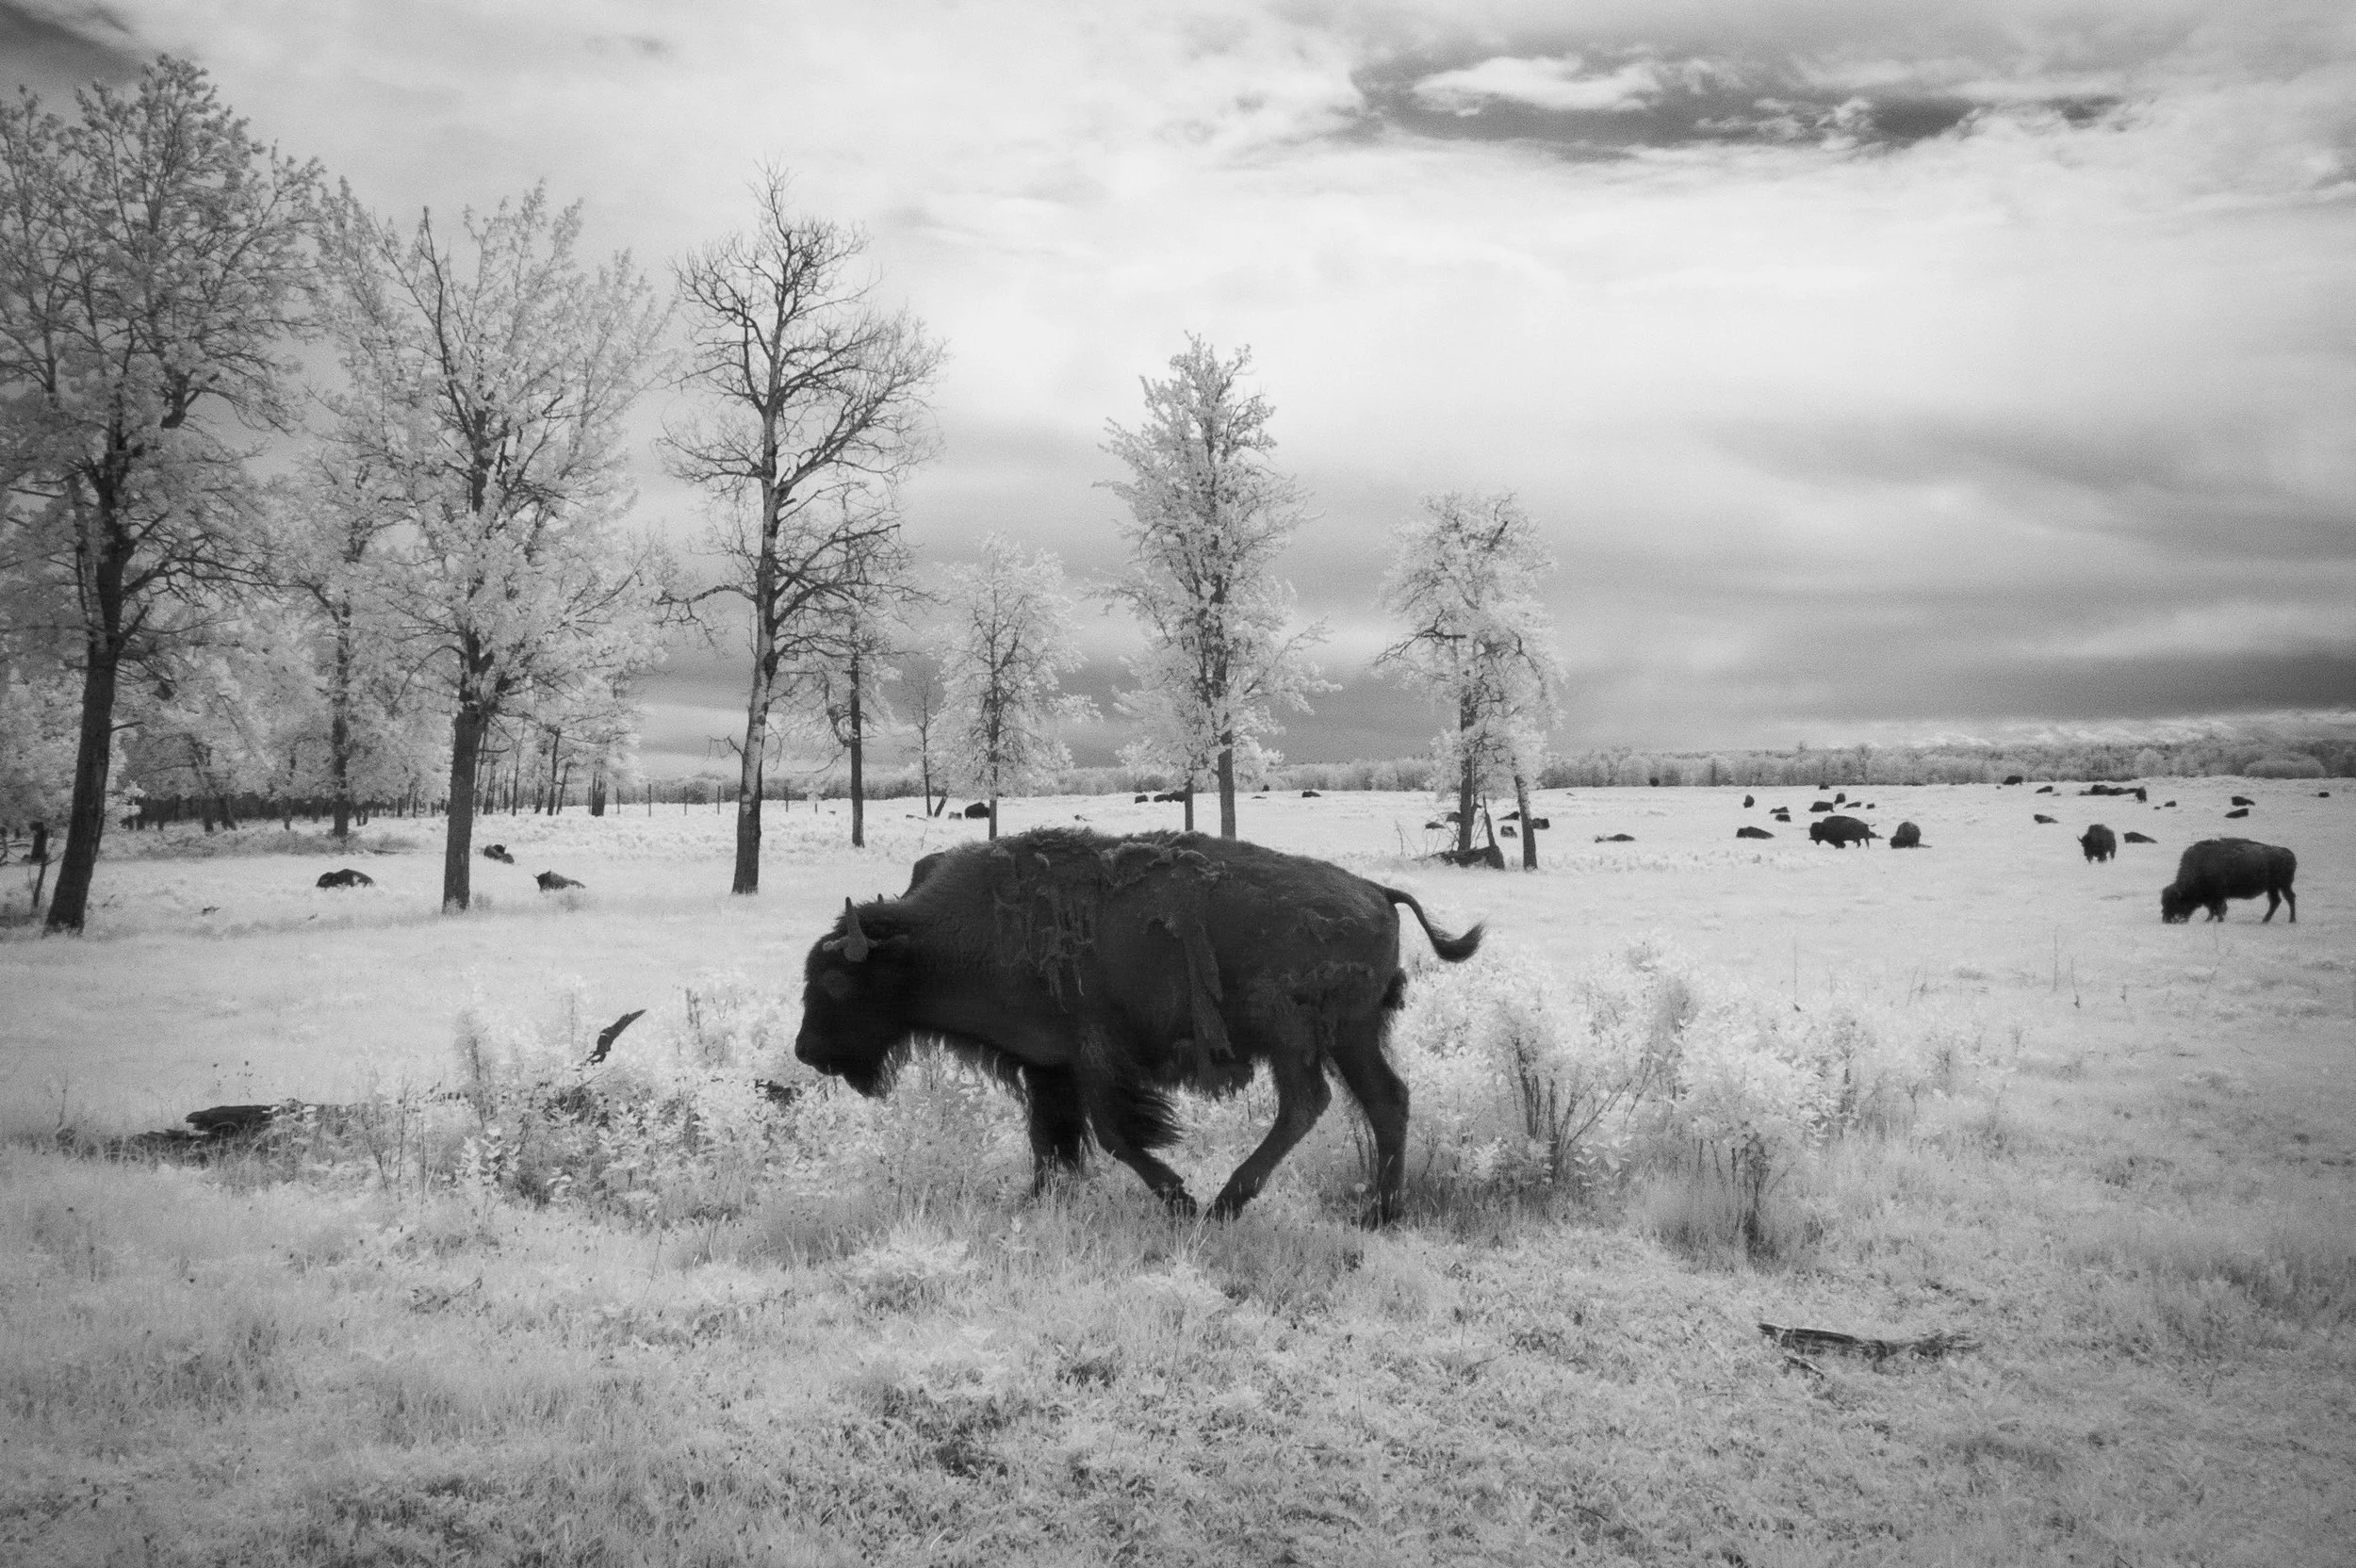
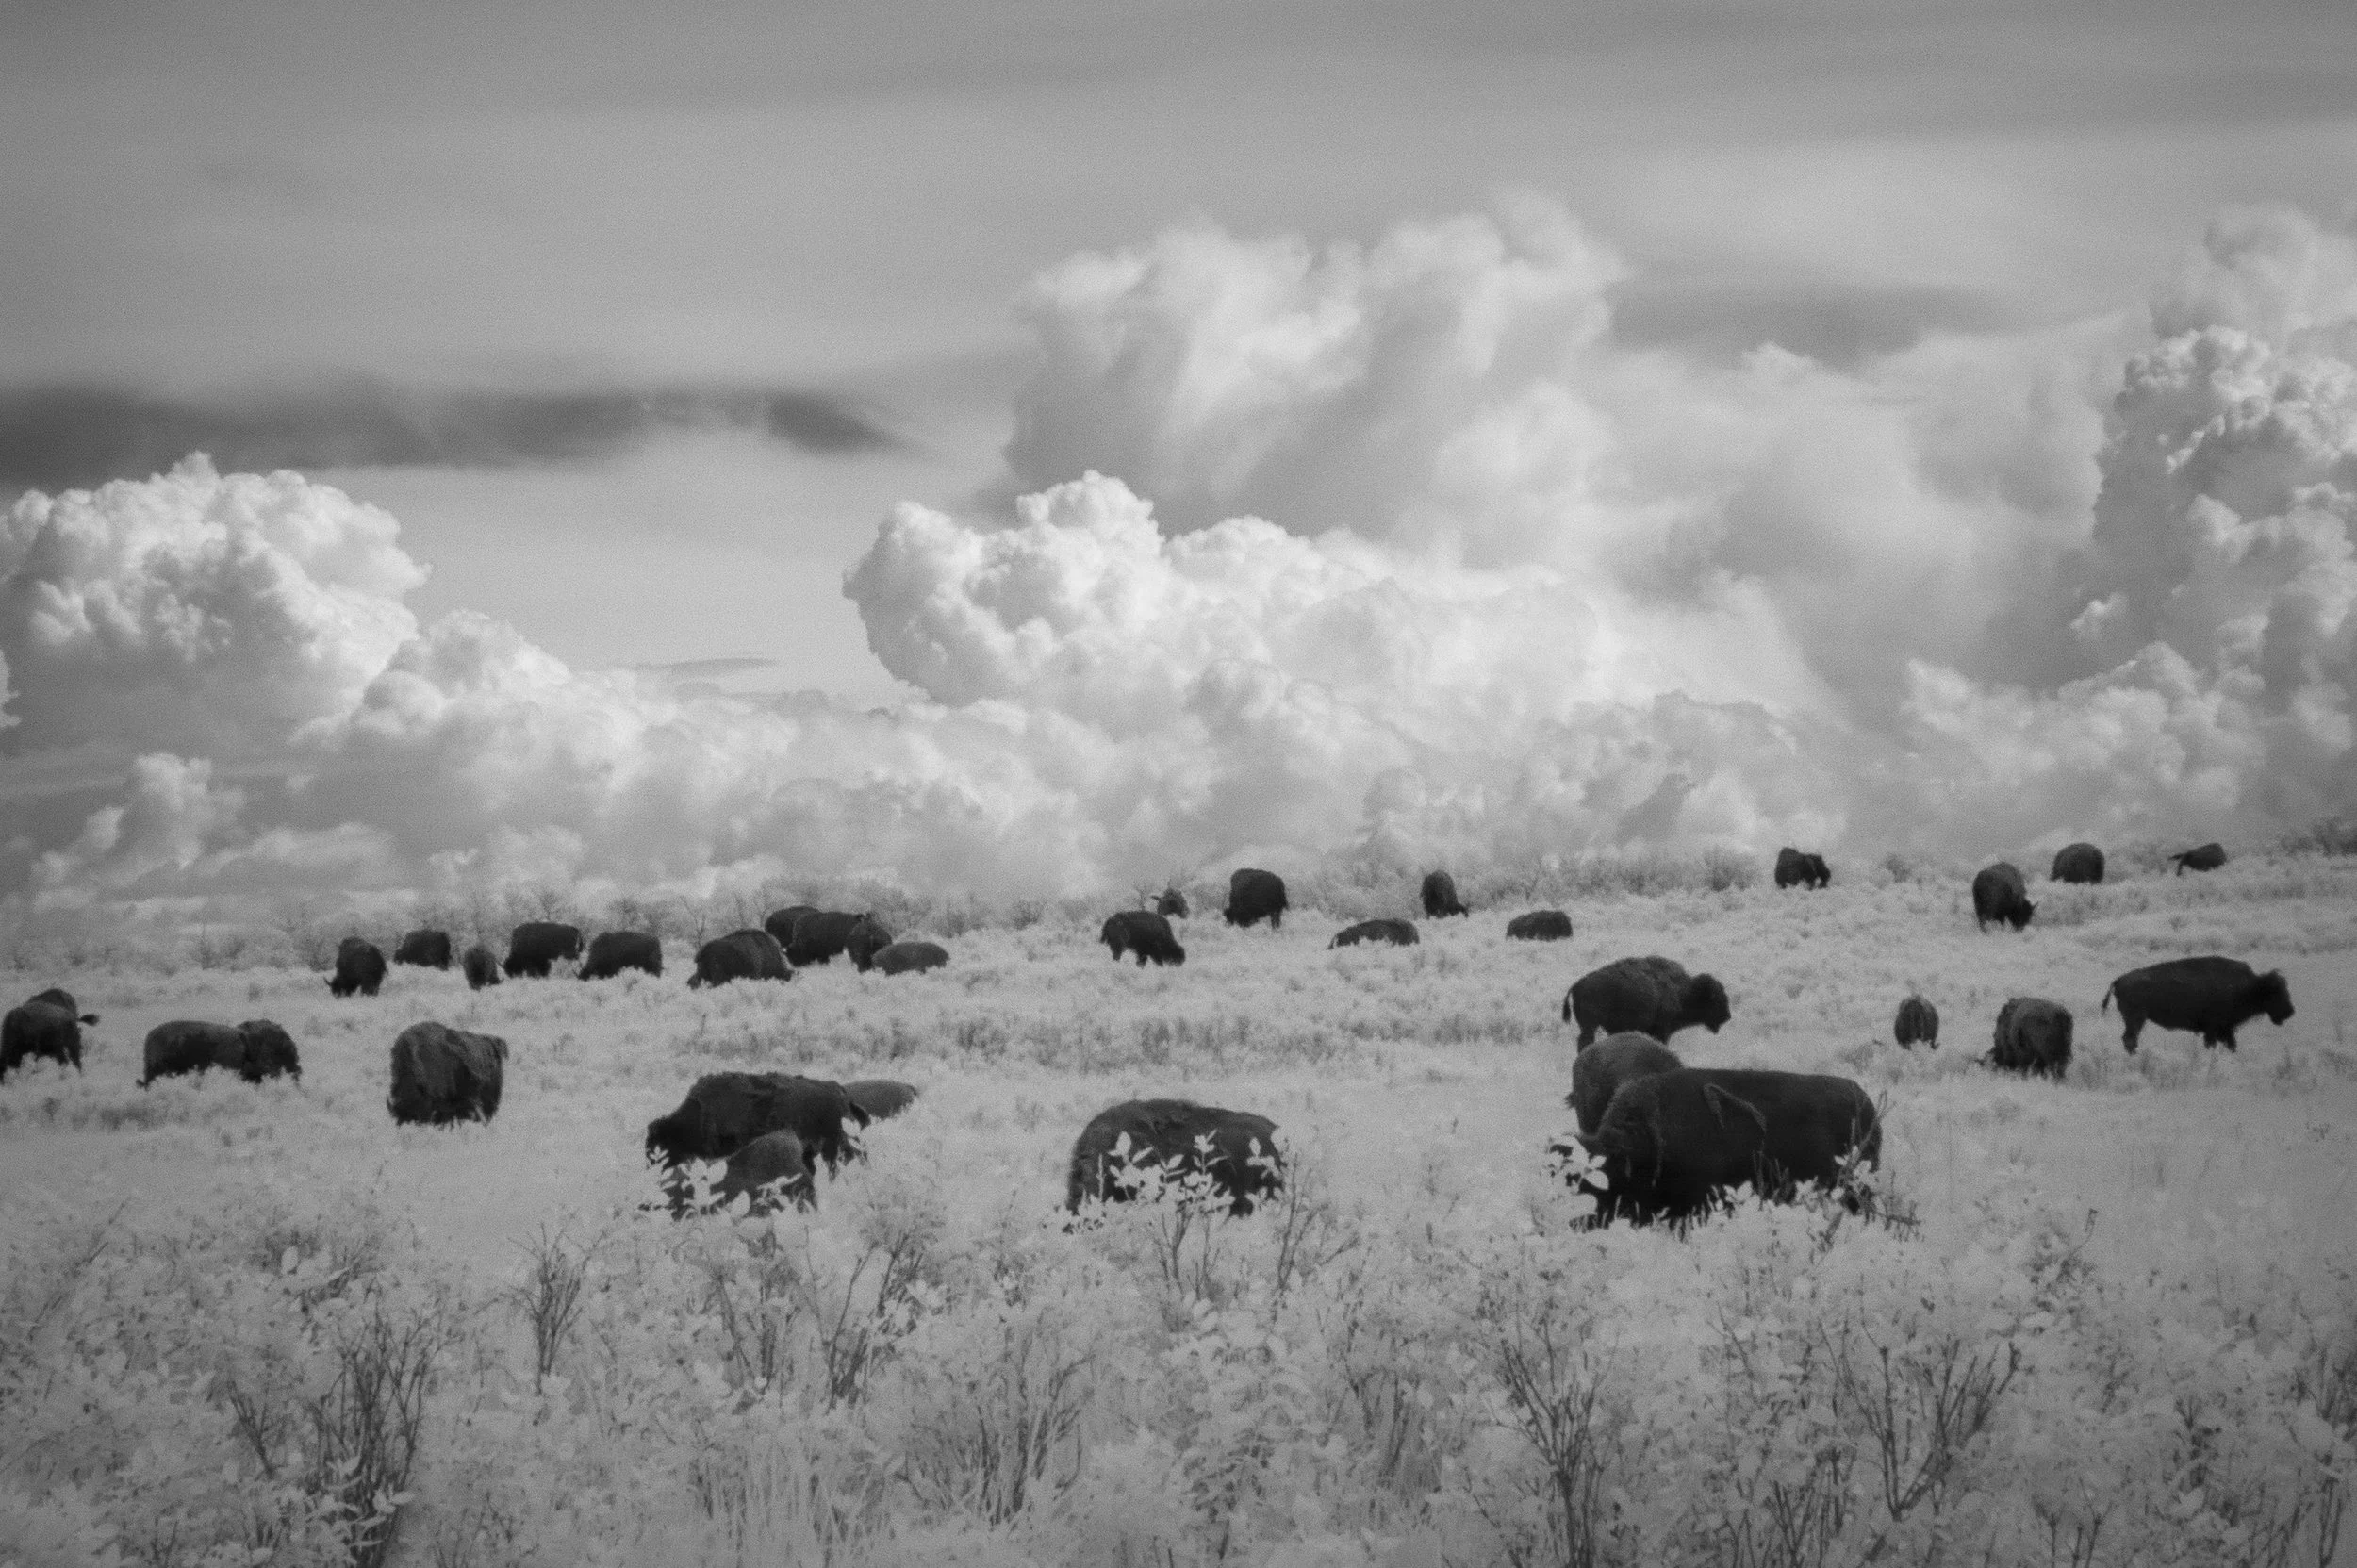
Infrared photography is definitely niche. You have to be on the side of eccentric to completely unhinged to appreciate some of this stuff. However, playing with infrared (and UV) areas of the EMR spectrum is a fun way to create wacky and out-of-this-world / alternate reality feeling images and can be a way to get out of the regular channels and make the familiar new again.
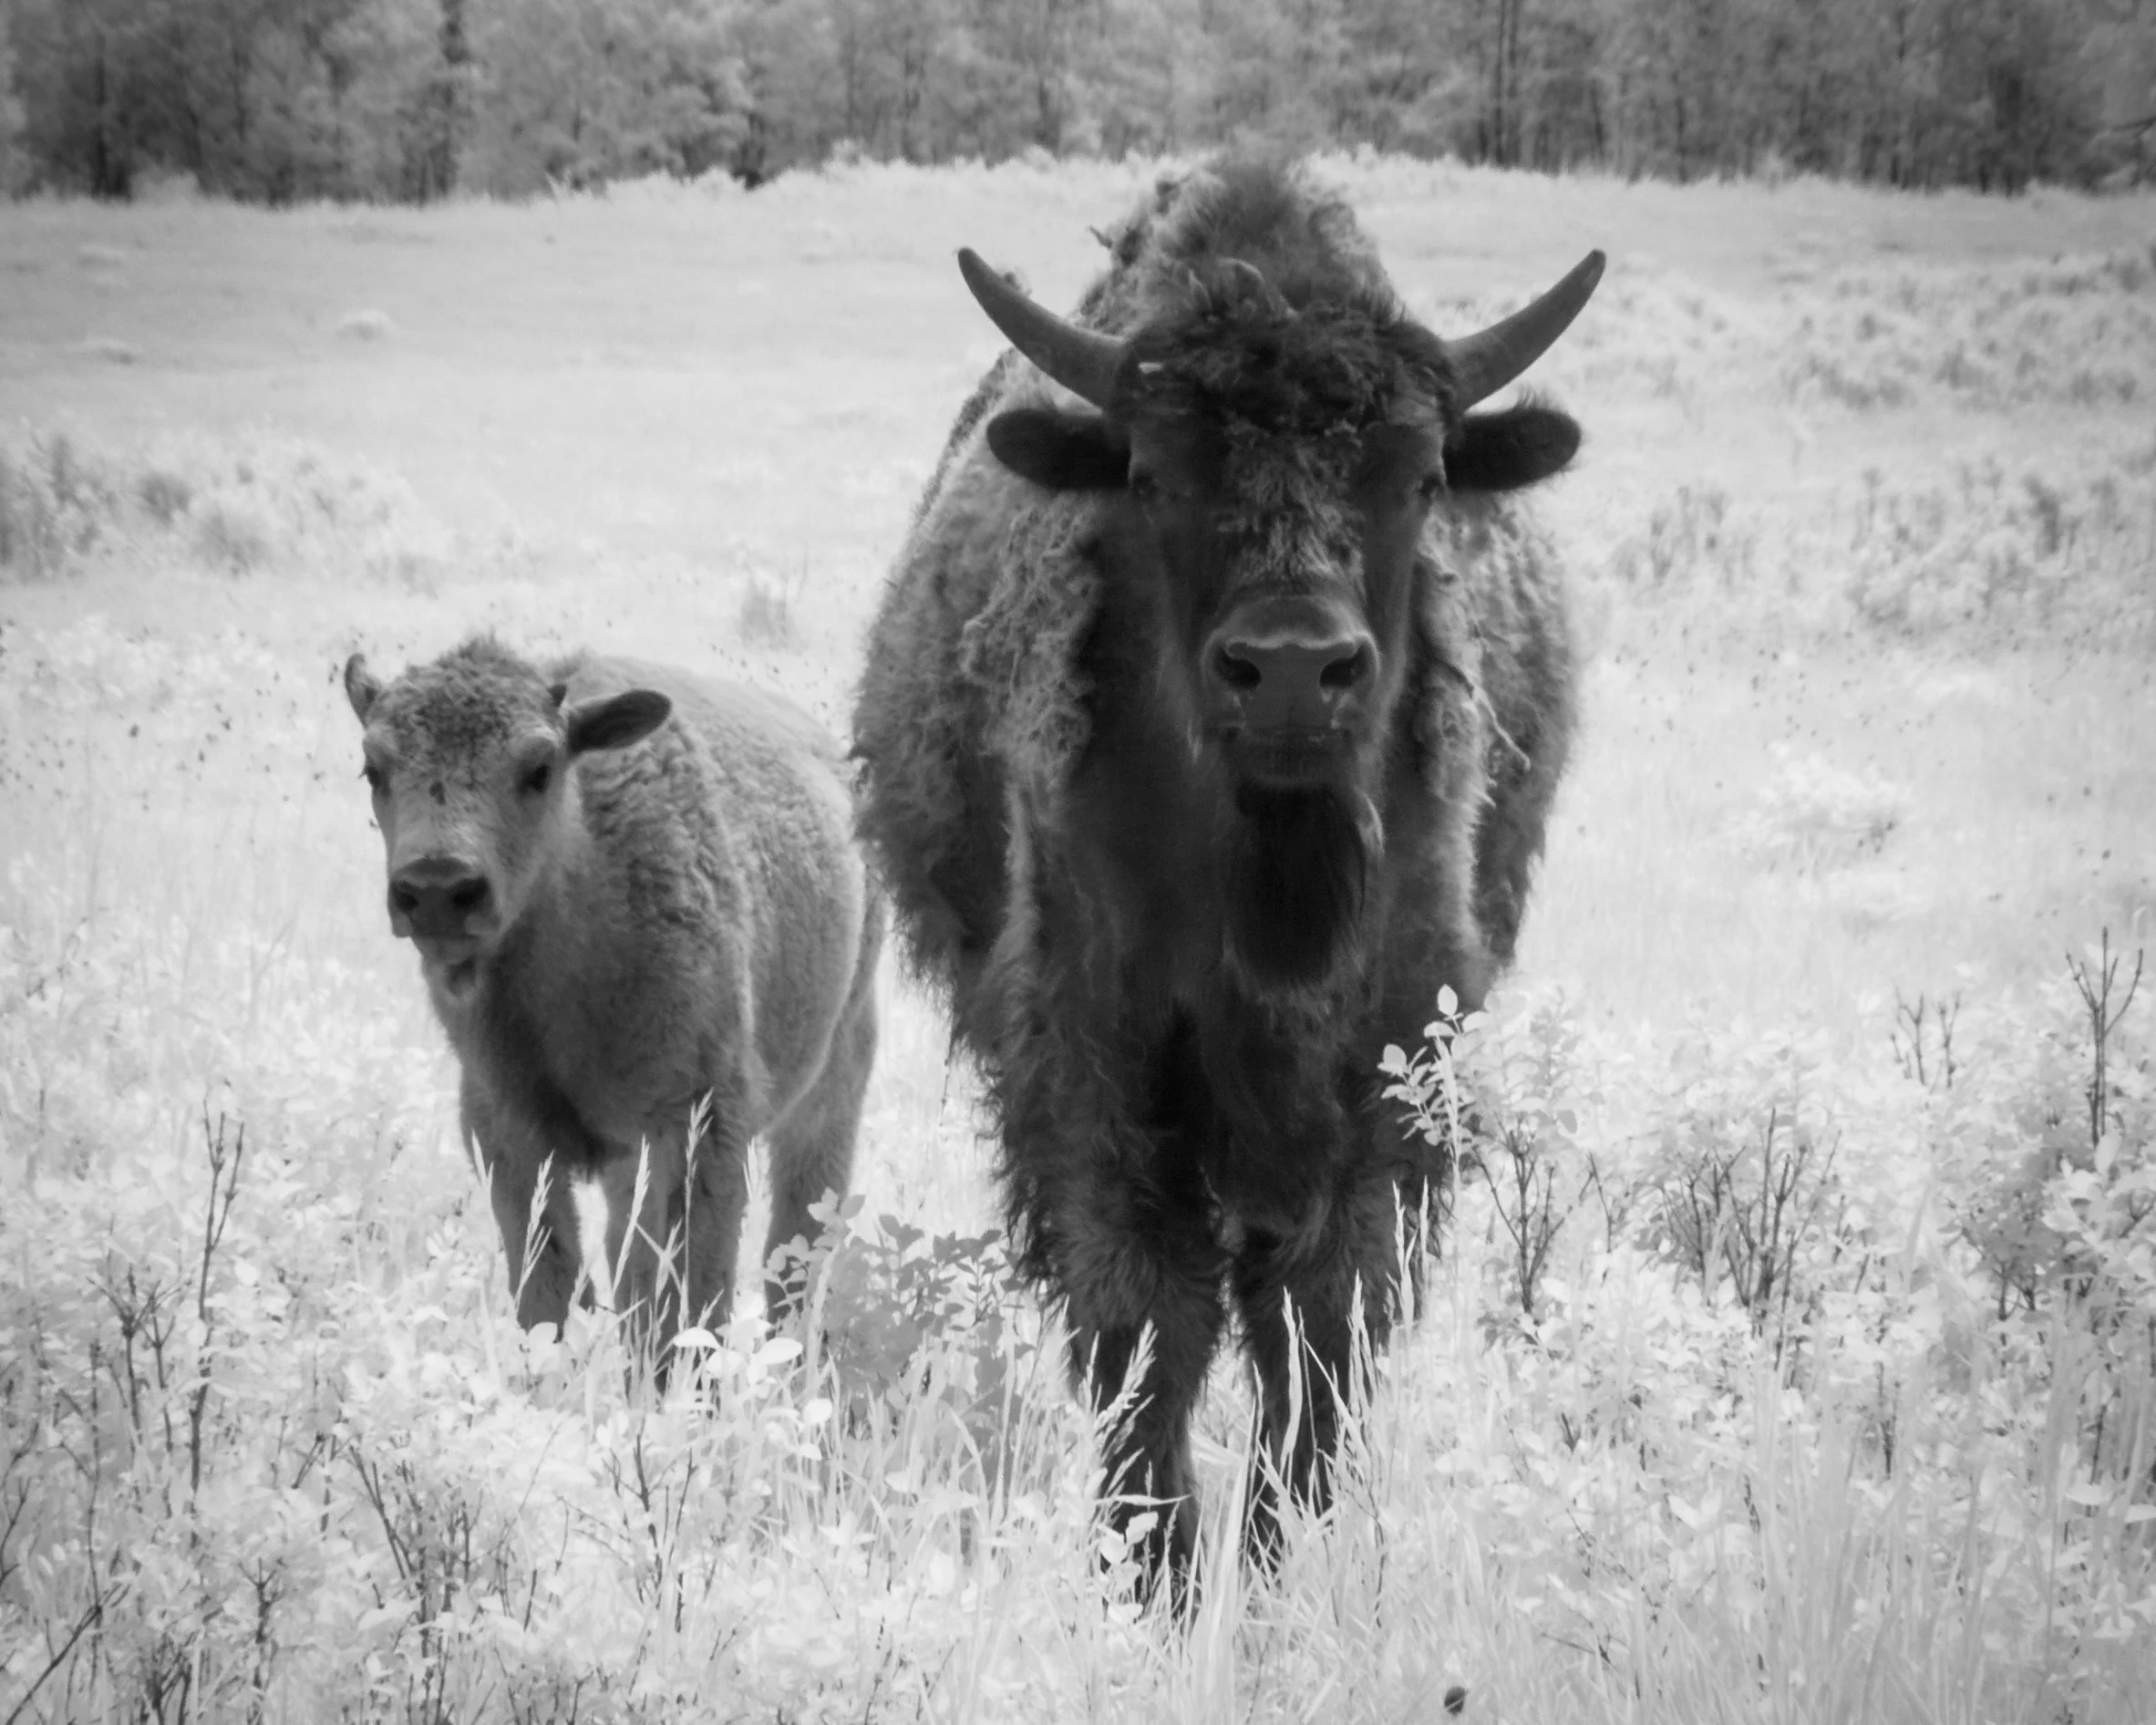
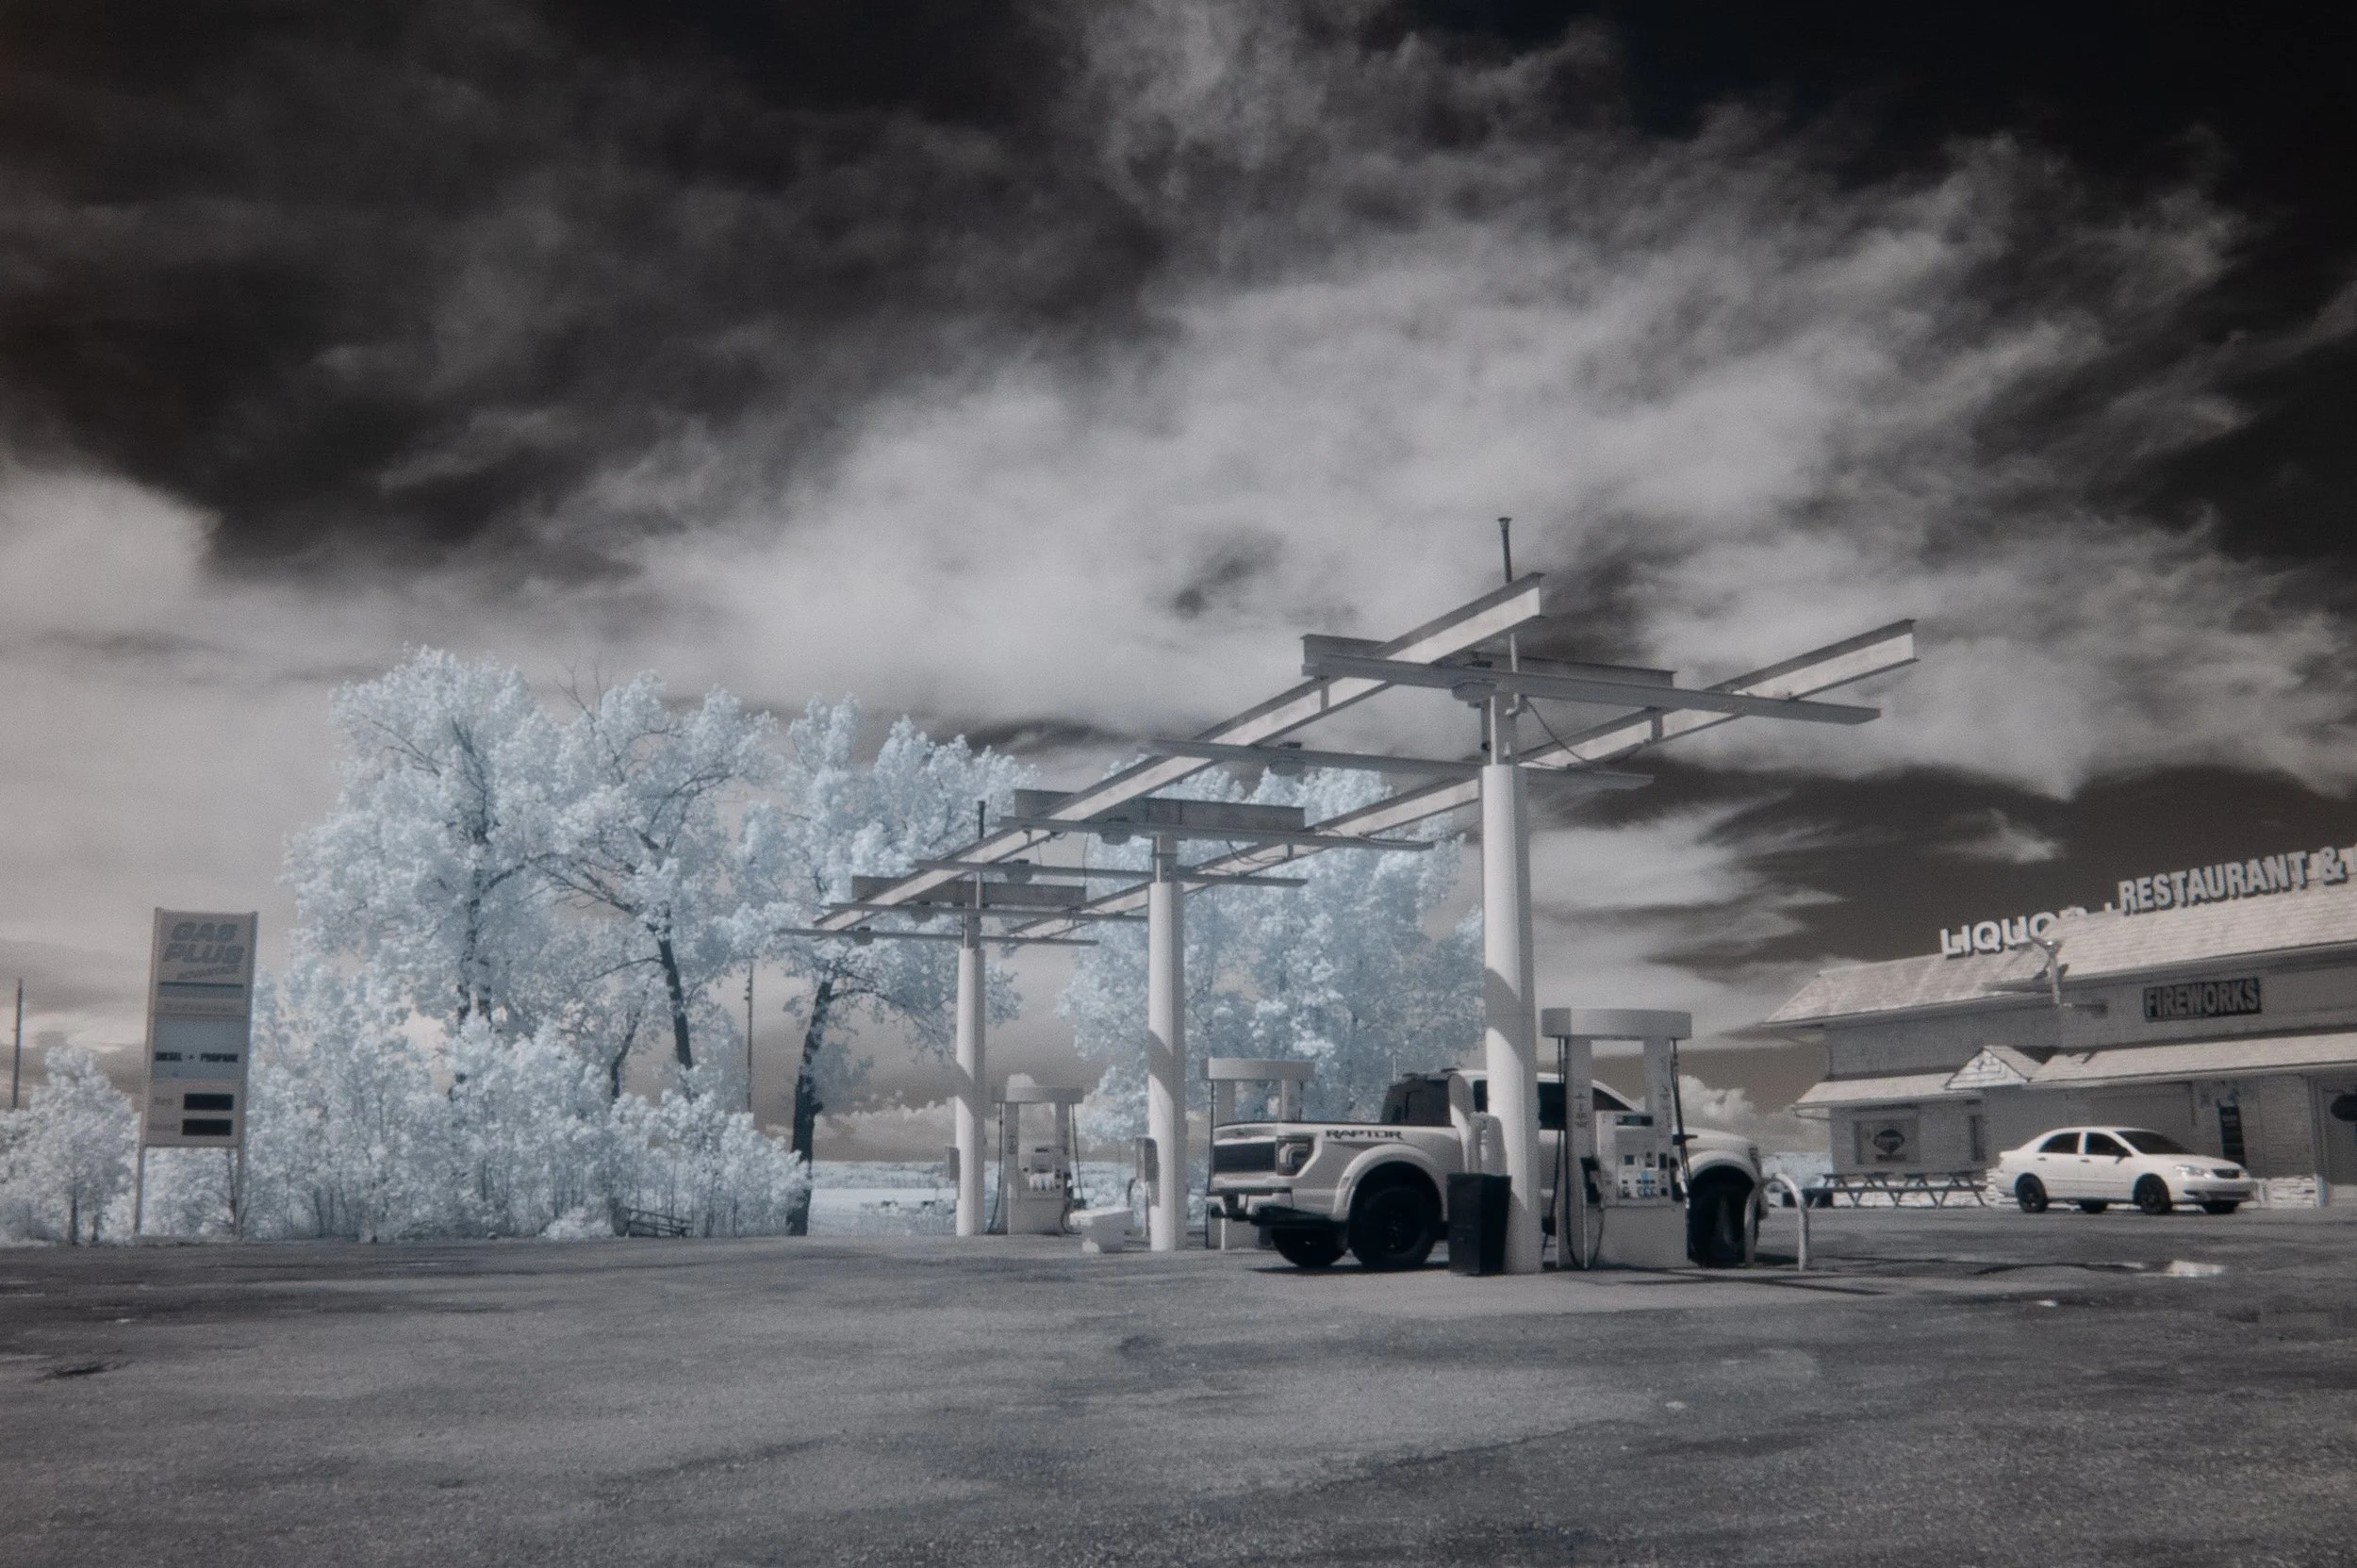
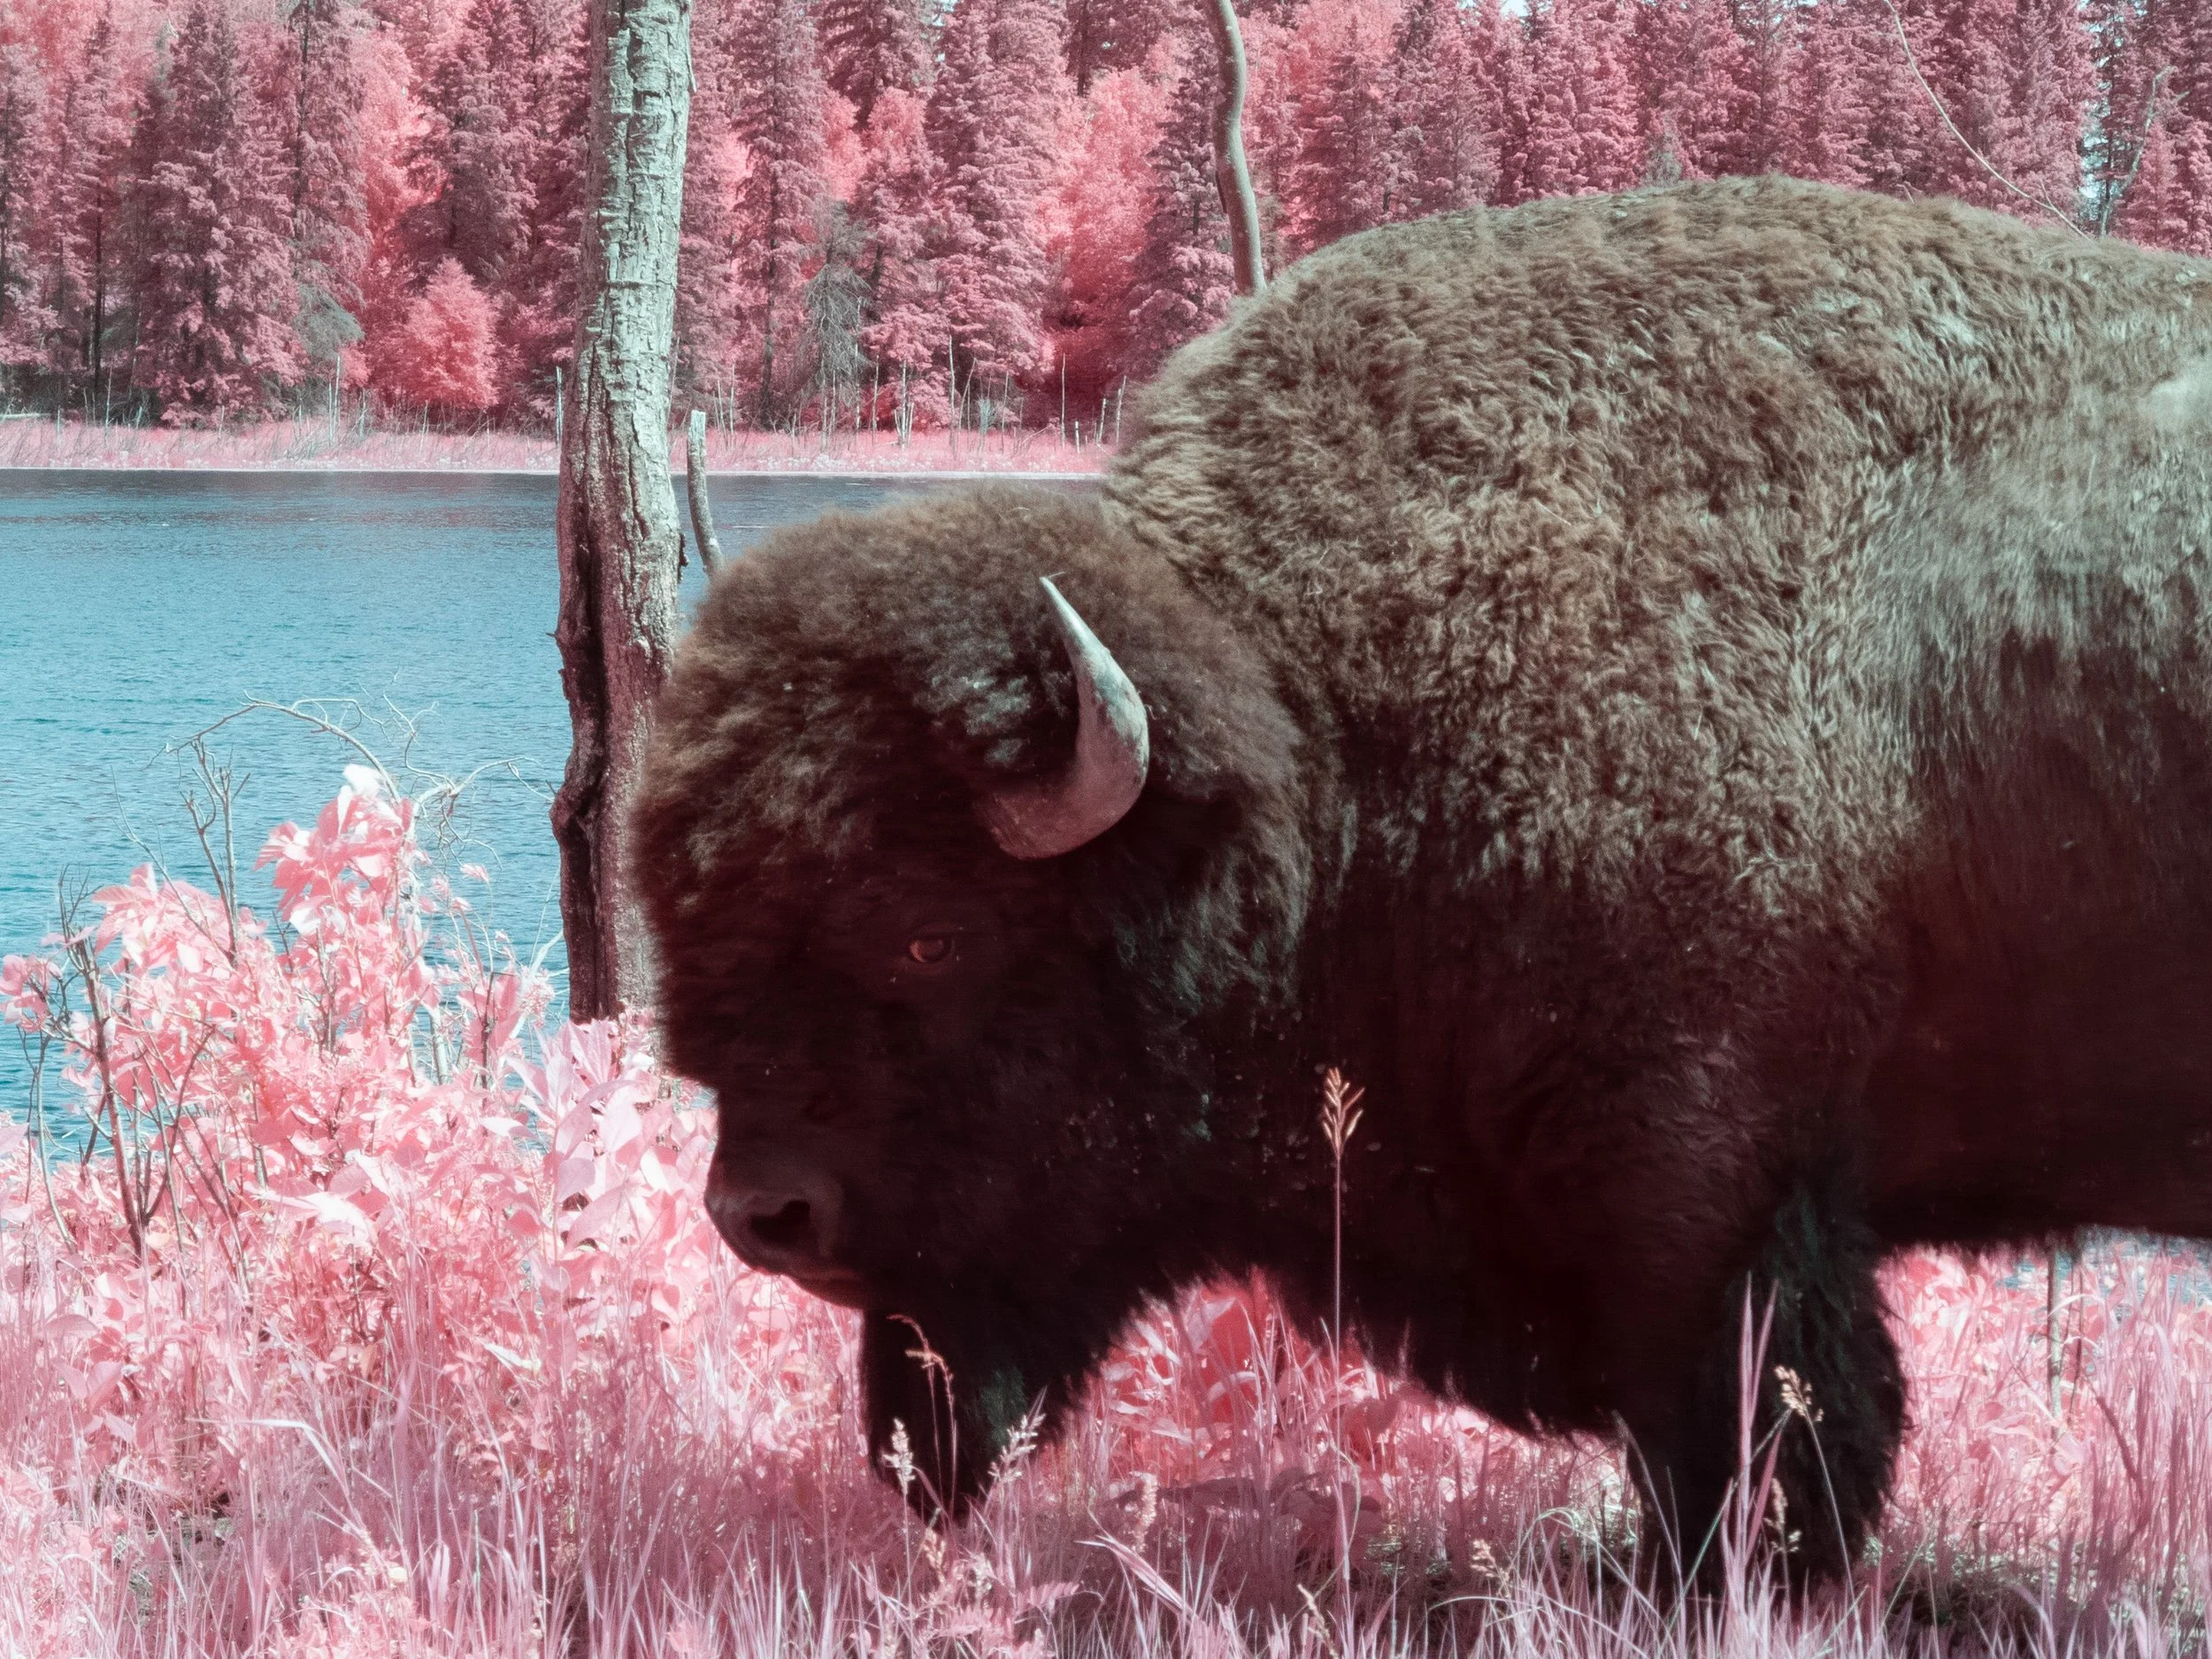
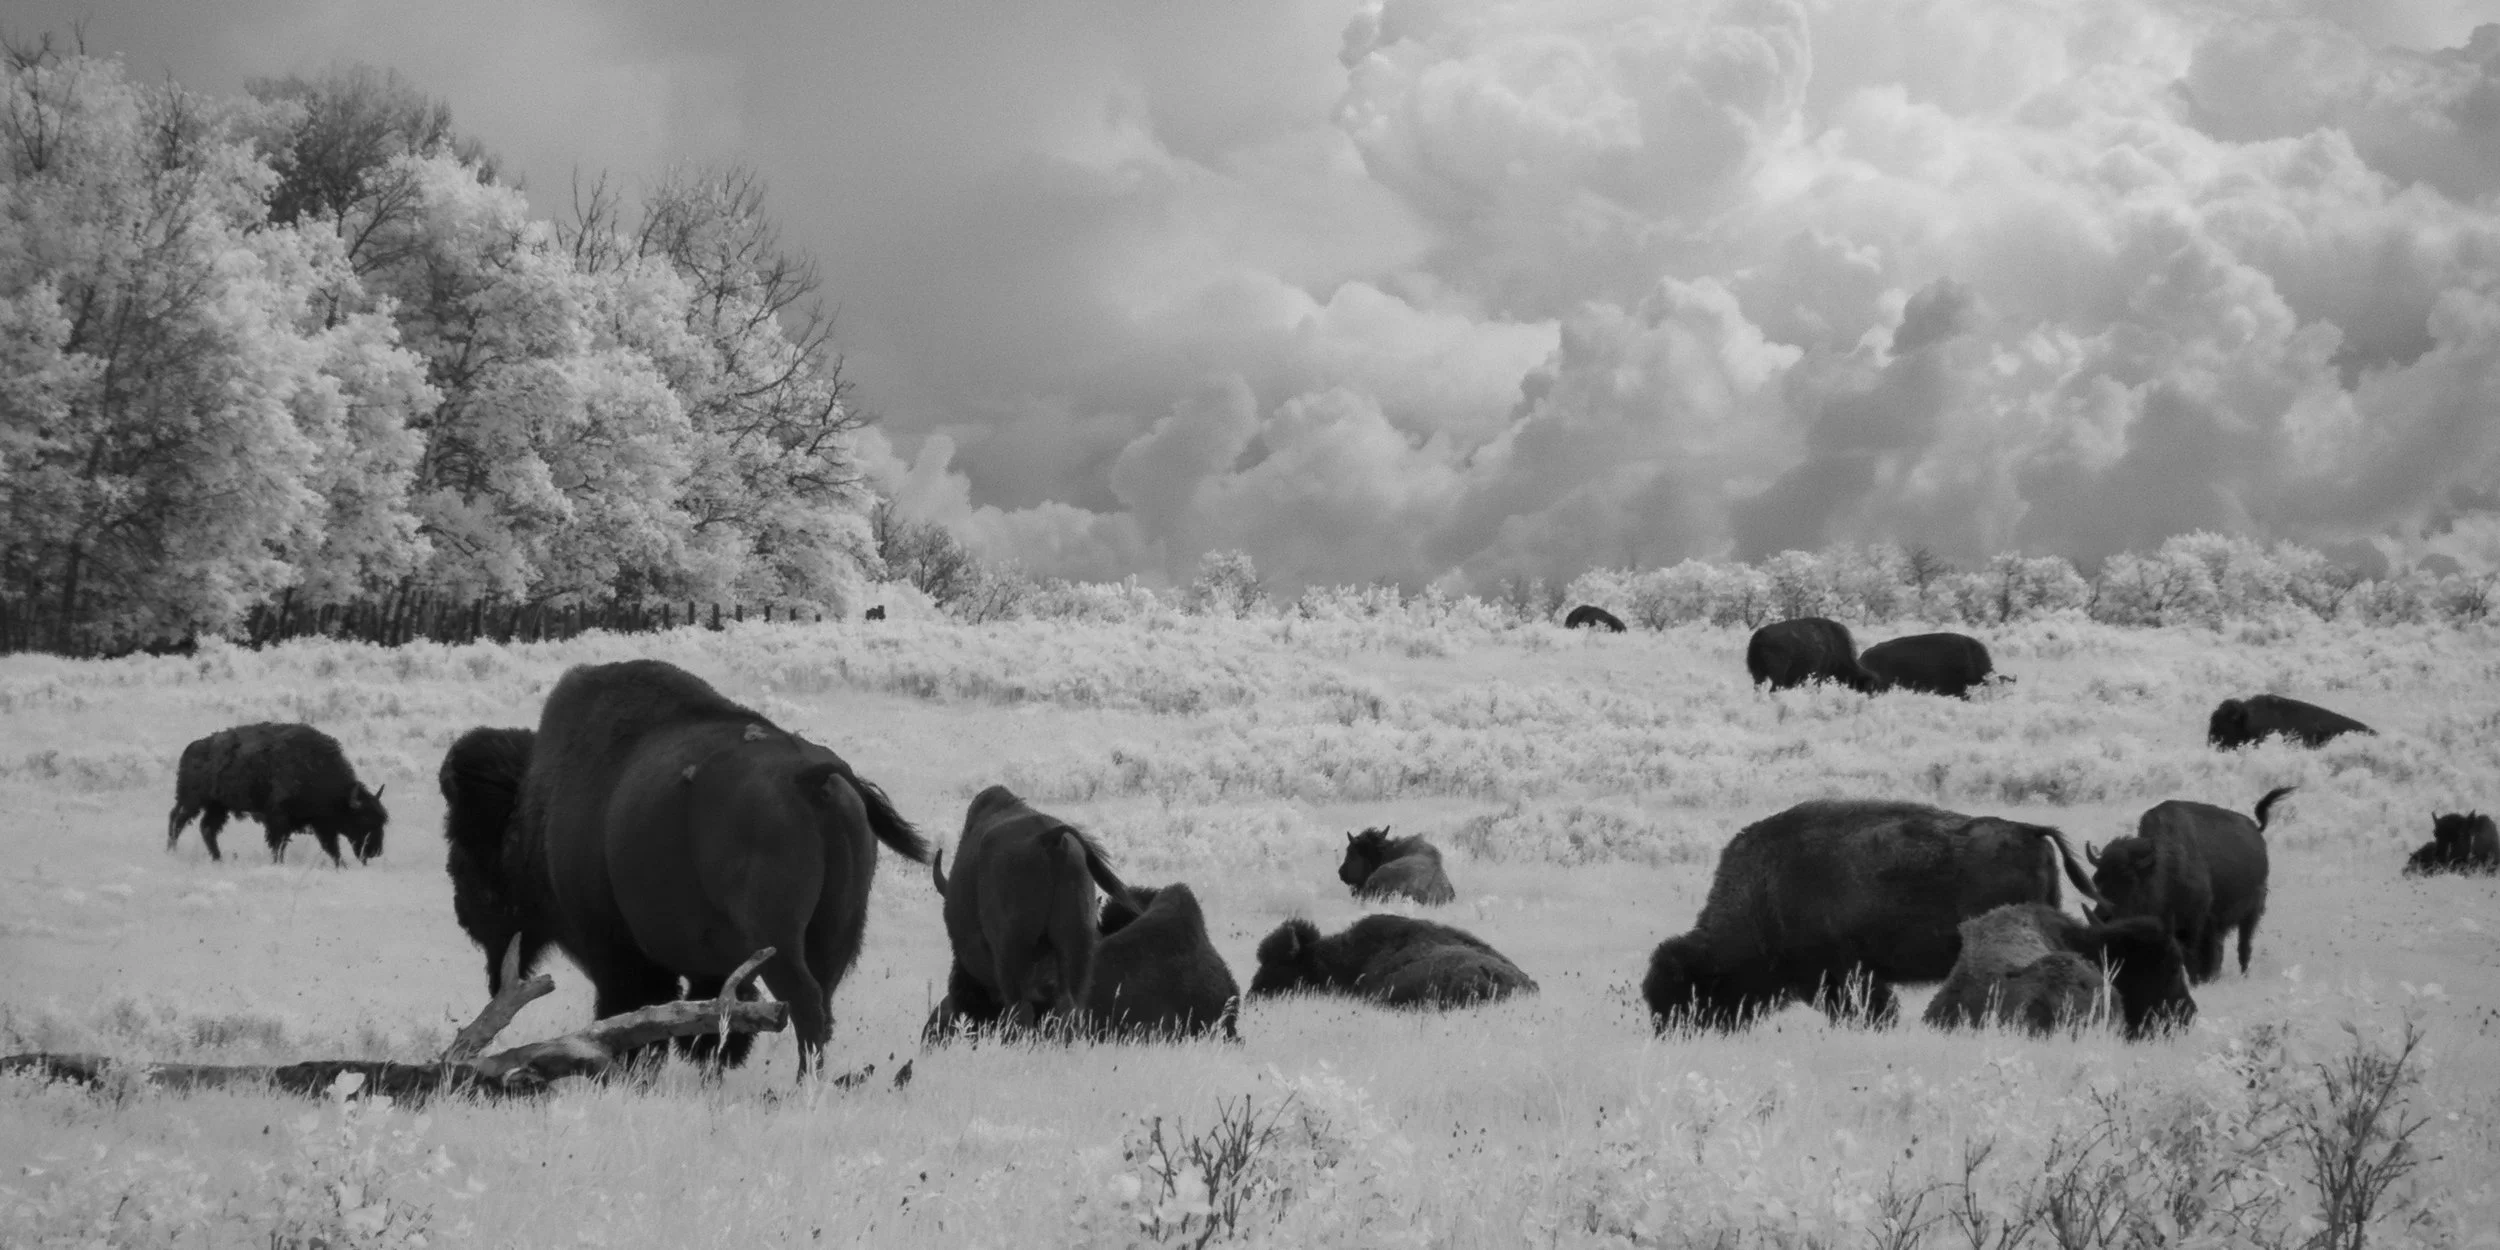
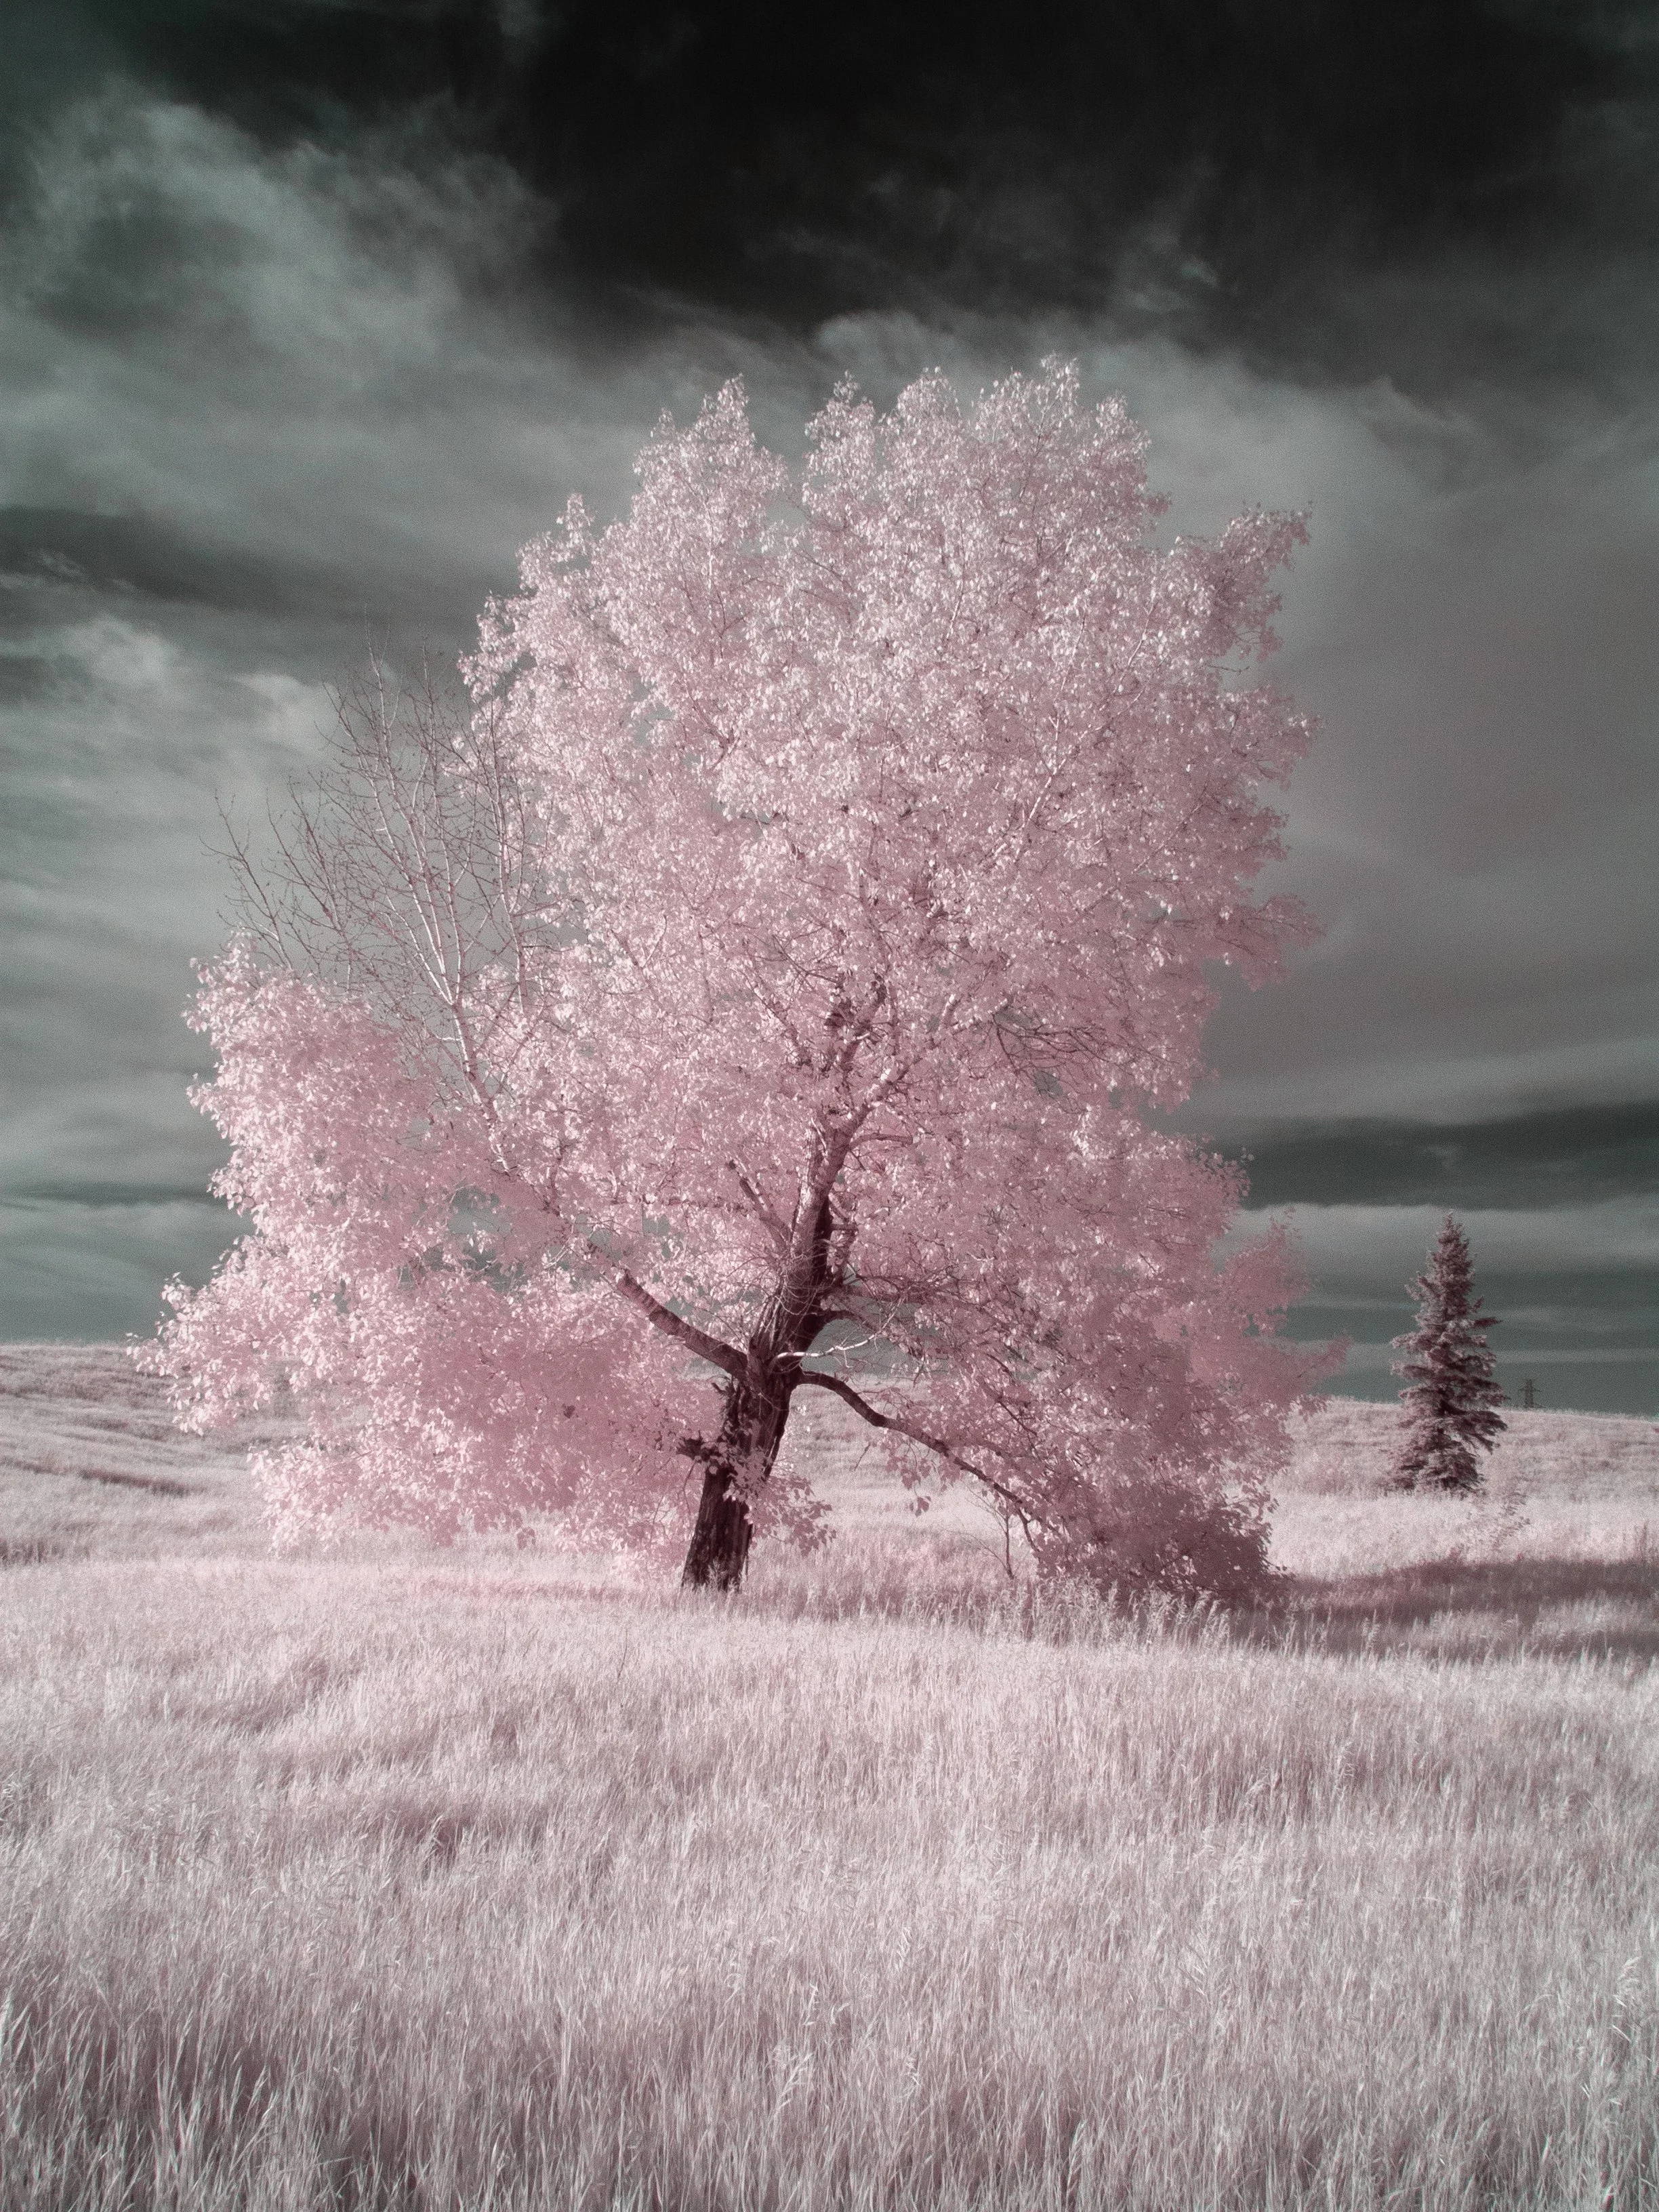
The thing that make infrared special is the fact that we as humans cannot see it and everything must be interpreted to fit within the limited band of our eyes. With the exclusion of B&W, this means that there are no proper ways of expressing the returned image information when it comes to color. This means that false color is inherently part of the infrared experience and there are virtually no rules and the looks are quite remarkable. Even black and white infrared has a look, known as the “Wood effect”. Foliage being illuminated by sunlight becomes bright highlights and the sky usually presents dark. These images look very contrasty and in my opinion, very cool.
With this however, there are some common looks out there. All of them are derived from which areas of the infrared and color spectrum you allow to pass through to the sensor using filters. Depending on the wavelength cutoff / filtering will determine the effect and where the final image can go from there.
The infrared spectrum starts around the wavelength of 720nm (and greater). Smaller wavelengths are in the color spectrum up until you reach the ultra violet range. There are filters that cut off anywhere from in the color spectrum to well within the infrared spectrum. As you cut off more wavelengths the image becomes more monochromatic, approaching only black and white or luminance based information.
How do you shoot in extended ranges? Well, there are a couple of ways - unsurprisingly digital and film. Film is pretty straight forward; find a film sensitive to infrared, get a filter to block out visible light and shoot. For digital, it’s a bit more of a process. Technically most or all digital sensors are infrared / UV sensitive, however a “hot” filter is placed on the sensor to block these ranges so that the colors from the camera are not affected by non-color information. This means that for this to work on digital, that filter needs to be weak or removed. There are notable cameras with weak hot filters that can be researched, however there are companies like Kolari that perform this camera surgery. Once a hot filter is out of play, then you just need to select the effect (wavelengths and processing) that appeals to you.
What can make IR photography a bit of a pain is focusing. Infrared bends differently and thus focuses on a different plane than color This must be accounted for through focus adjustment or by using a high depth of field. Many vintage lenses have markings for IR adjustments to be offset, however new lenses tend not to. A converted DSLR with modern lenses may not be the best pick for this reason as the sensor is not typically where the focusing information comes from and if you are using a filter at 720nm or greater you will see nothing through the viewfinder as all light that we can see is being filtered out. So either you have to set up the shot, then add the filter or guess the composition. Mirrorless cameras use sensor information to focus and adjust to infrared easily. You can also view the image as the camera sensor sees it. This is preferred.
Another snag is lens coatings. Many coatings are not optimized for extended spectrum photography and can have “hot spots” or artifacts. Vintage lenses tend to be better, but you’ll have to do some homework or experimenting.
Additionally, unless you are going for a B&W IR image, you will need to learn how to process the photos. Other than some rare filters / looks, images SOOC will not be “correct”. Blue and red channel swapping often produces the desired look along with extreme white balance adjustments. You’ll need to play around to see what you like. This dose require a good photo editor. I use Lightroom myself and figured out some Photoshop bypasses to do channel swaps though using masks. I recommend saving looks as presets to speed up edits.
A final point of challenges is shutter speed. They will be slower. You are filtering out a ton of light, thus you will need a longer exposure. Unfortunately this means a tripod can be required, but not always.
Personally I love shooting infrared. It makes the boring and familiar interesting and wacky. It makes mid-day a very useful time to shoot - which is conventionally avoided by many photographers opening up those bright super sunny days as perfect conditions for IR. It’s just another reason to get out and have fun. Maybe you would find it fun too.
Sample gallery below. As a note I have 3 different filters that I currently use. A 720nm filter and two specialty filters from Kolari that have dual ranges of color and infrared filtering that are both to approximate the look of Kodak Ektachrome IR or as it is popularly known as “Aerochrome” - the only color IR film produced. It doesn’t exist anymore.